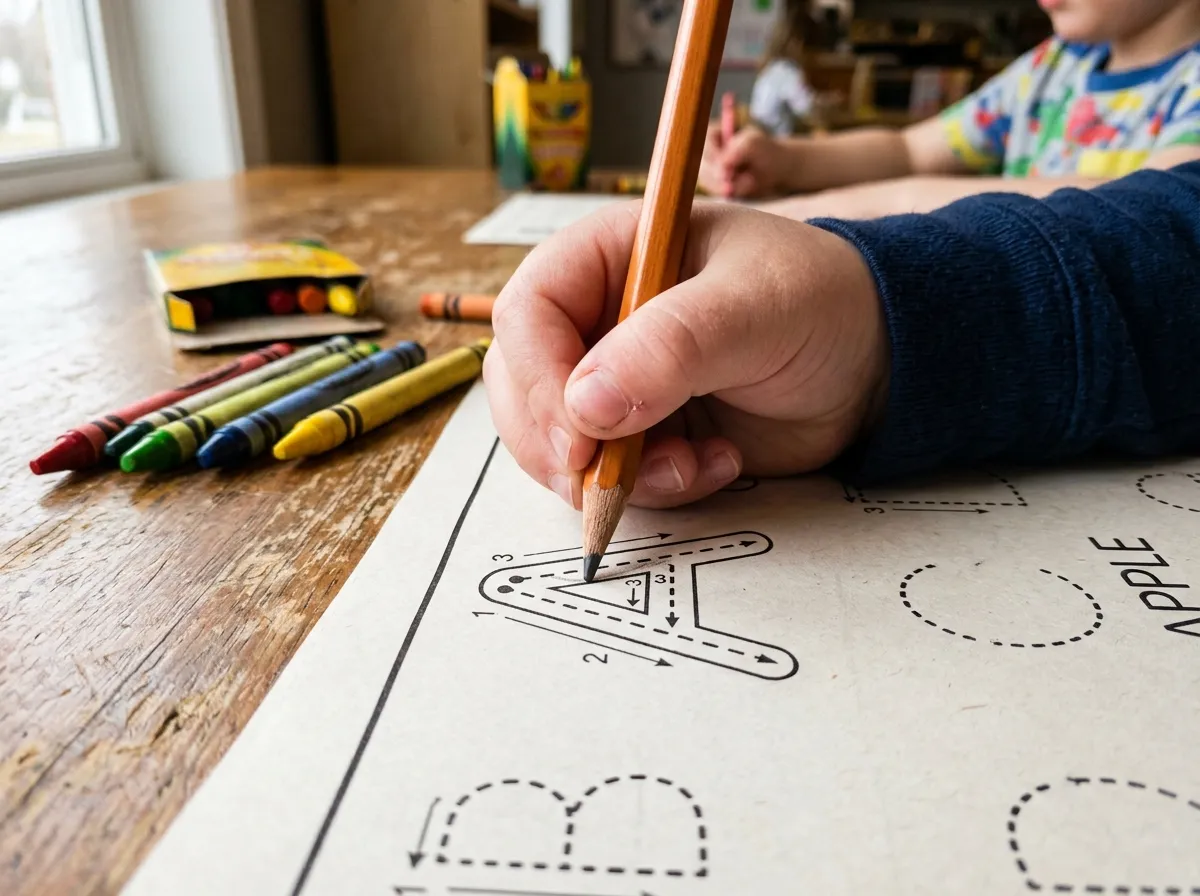
How to teach alphabet tracing (the quick answer)
Good alphabet tracing is not about staying inside the lines. It's about teaching your child's hand the right path for each letter so it becomes automatic. Three rules do most of the work:
- Start at the top. Almost every letter begins at the top line, not the bottom.
- Start at the dot. Mark a green dot where the pencil goes down first. Your child always looks for green before they start.
- Same path every time. Say the strokes out loud ("down, back up, around") so the movement and the words match.
Keep sessions to five to ten minutes. One or two letters a day, traced a few times and then written once alone, beats a full page of rushed letters.
ABC Tracing Adventure: A to Z is built around those rules. Every letter gets two pages: a big letter to color with its picture and step-by-step tracing that shows the real writing path from a green start dot, then a letter hunt and a beginning-sounds hunt. That's 26 letter worksheets, 26 letter-hunt pages, beginning-sounds review pages and a certificate of completion, 60 pages in all for ages 3 to 5. It's an instant PDF, black and white, prints on US Letter or A4, and comes with a 14-day money-back guarantee.
When should a child start tracing letters?
There's no single right age. Most children move through the same stages, at their own pace:
- Ages 1 to 2: scribbling, banging crayons, making marks. All of it counts.
- Ages 2 to 3: copying a vertical line, then a horizontal line and a circle.
- Ages 3 to 4: copying a cross, starting to draw simple people, tracing large shapes and some letters.
- Ages 4 to 5: copying a square and a triangle, tracing and writing many letters, often their own name.
Developmental checklists from groups like the CDC describe a gradual progression like this, from scribbles to lines to circles and simple drawings, and they leave a lot of room for individual differences.
Signs your child is ready for letter tracing
- They can copy a straight line, a circle and a cross after watching you.
- They hold a crayon with their fingers, not a full fist, at least some of the time.
- They can sit and draw for a few minutes without getting upset.
- They're interested in letters, especially the ones in their name.
If those aren't there yet, start with lines and shapes. Ready, Set, Trace! Pre-Writing Book covers that step with straight lines, waves, zigzags, bumps and loops, then mazes and shape tracing. Our guide to fine motor activities for preschoolers has hands-on ways to build the strength behind it.
Correct letter formation: top-down, start dots and letter families
Children who form letters from the bottom up, or in a different order each time, often write slowly and reverse letters later. Correct formation is easier to teach now than to fix in second grade.
Teach letters in families, not A to Z
Letters that share a starting stroke are easier to learn together. You don't have to teach in alphabet order.
Capitals
- Straight-line letters: L, F, E, H, T, I
- Slanted-line letters: A, K, M, N, V, W, X, Y, Z
- Curvy letters: C, O, Q, G, S, D, P, B, R, U, J
Lowercase
- Curve-around letters (start like c): c, a, d, g, o, q, s
- Tall stick letters: l, t, k, b, h, f
- Down-and-up letters: r, n, m, p
- Slanted letters: v, w, x, y, z
- The rest: e, i, j, u
Say the path out loud
Words help the hand remember. Use the same short phrase every time:
- L: "Start at the top, pull down, slide across."
- T: "Pull down from the top. Lift. Line across the top."
- C: "Start at the top, go back and around."
- a: "Around like a c, back up, pull down."
- d: "Around like a c, up tall, pull all the way down."
- n: "Pull down, bounce back up, over the hill and down."
That "around like a c" phrase is the single best fix for b and d mix-ups later, because d starts with a c-curve and b does not.
Uppercase or lowercase tracing first?
For handwriting, many teachers start with capitals because they use mostly straight lines, all start at the top and all sit the same height. They give three and four year olds an early win.
For reading, lowercase matters more, because nearly all of the text in books is lowercase.
A practical middle path:
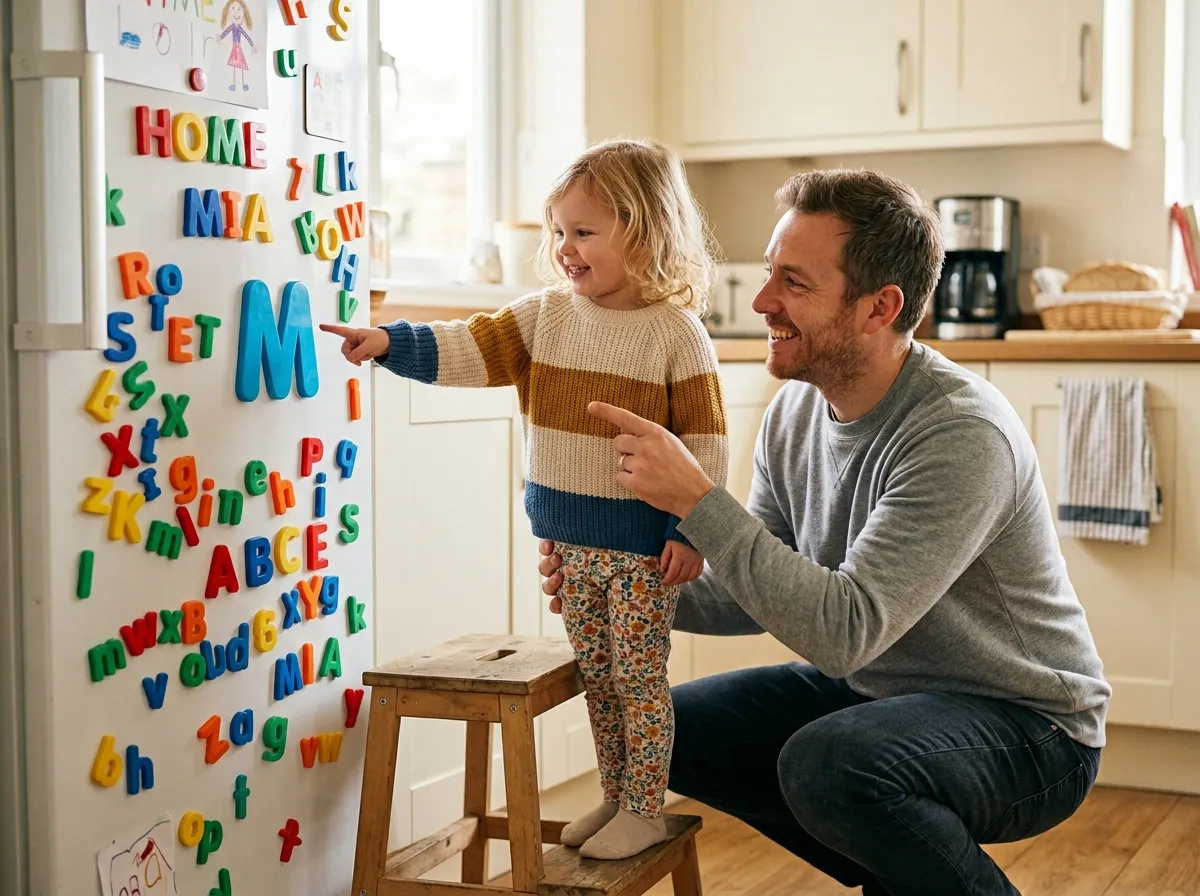
- Name both versions from the start: "Big M, little m."
- Age 3: trace capitals, plus the capital first letter of your child's name.
- Age 4: add lowercase, starting with the letters in their name and the c-family.
- Age 5: most writing practice in lowercase, using capitals only where they belong.
Teach your child to write their name with a capital first letter and lowercase after it. Our guide on how to teach a child to write their name walks through that step by step. If your child is still learning which letter is which, start with letter recognition activities.

Ages 3–6 · 29 pages
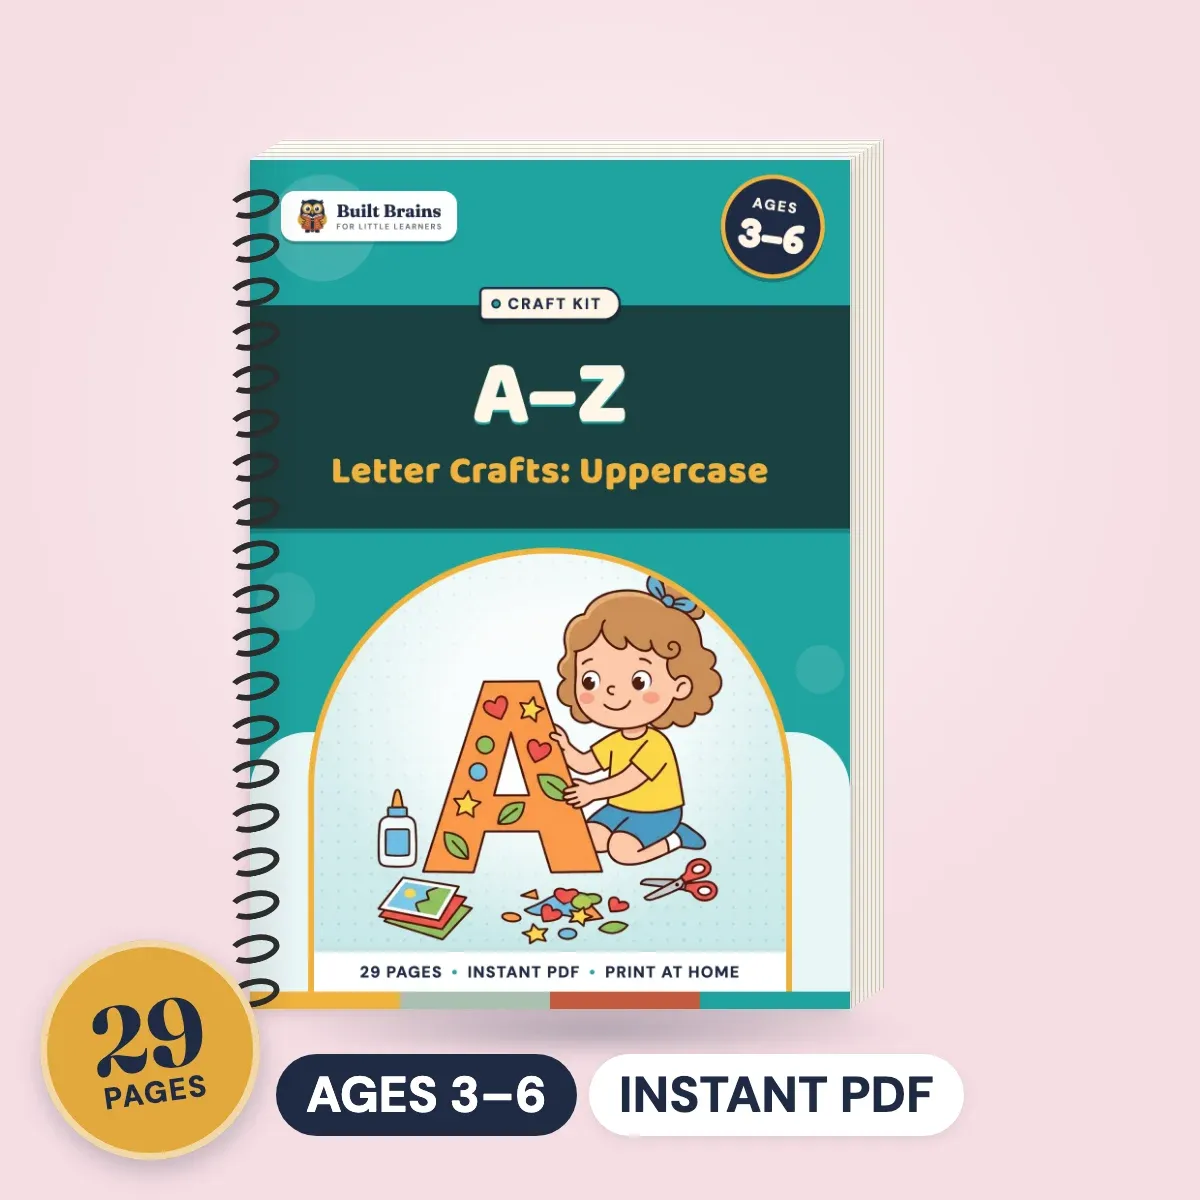
A–Z Letter Crafts: UppercaseColor, cut and paste a craft for every capital letter
Ages 3–6 · 29 pages
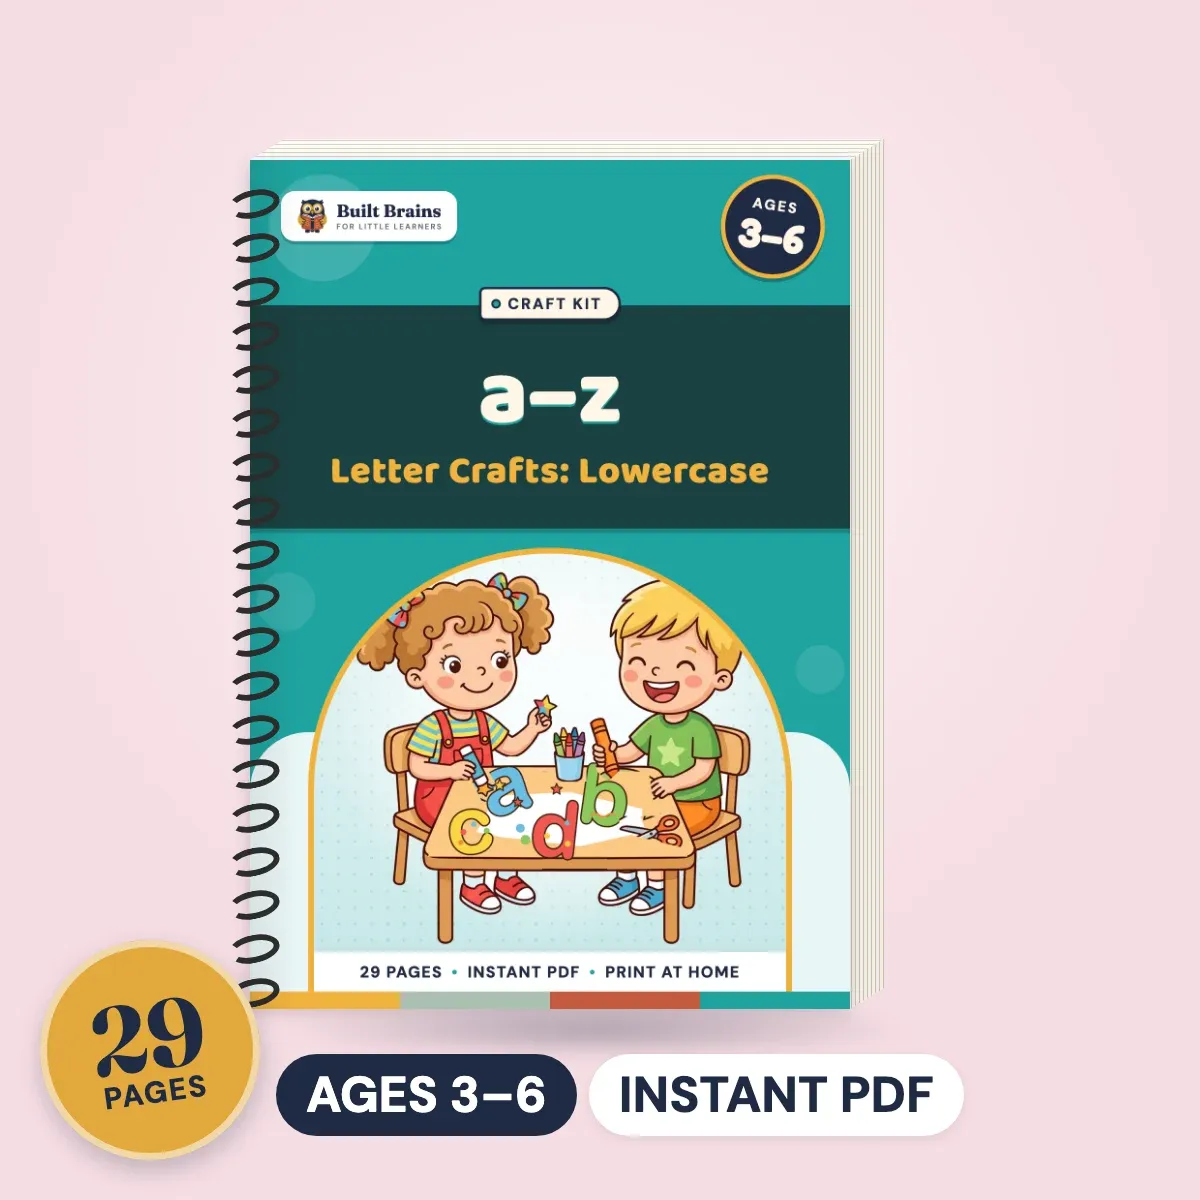
a–z Letter Crafts: LowercaseColor, cut and paste a craft for every small letter
Multisensory letter practice before paper
Paper tracing works better when the hand already knows the movement. Spend a minute or two on one of these before the worksheet:
- Sky writing. Stand up, arm straight, and "write" the letter in the air with two fingers while saying the path.
- Salt or sand tray. A baking tray with a thin layer of salt. Write with a finger, shake to erase.
- Back writing. Trace the letter on your child's back; they guess it, then trace it on yours.
- Play-dough snakes. Roll snakes and build the letter on a large printed outline.
- Shaving foam on the table or bath wall. Messy, fun and very motivating for reluctant writers.
- Wet chalkboard. Write with chalk, then trace over it with a small wet sponge or paintbrush.
- Rainbow tracing. Trace one large letter three times in three different colors, saying the path each time.
A 10-minute tracing routine
- Warm up (2 minutes): squeeze play-dough or do sky writing.
- Model (1 minute): write the letter slowly while you say the path.
- Finger trace (1 minute): in salt or on the worksheet letter.
- Pencil trace (3 minutes): two or three careful traces, saying the path.
- Write alone (2 minutes): once or twice without a model.
- Find it (1 minute): spot the letter in a book or on a box.
Pencil grip and posture for tracing
Most children move from a fist grip to a finger grip over the preschool years, and many settle into a mature tripod grip somewhere between 4 and 6. You don't need to force it. You can make the right grip easier:
- Short tools. Broken crayons and golf pencils make a fist grip awkward.
- Feet flat, elbows on the table. A stool under dangling feet helps more than you'd expect.
- Paper slightly tilted. Right-handers tilt it a little to the left, left-handers a little to the right.
- Helper hand holds the paper. Remind gently: "Your helper hand keeps the page still."
- Vertical surfaces. Tracing on an easel or paper taped to a wall naturally puts the wrist in a good position.
Left-handed children should hold the pencil a little further from the tip so they can see what they write. Don't switch hands.
Common alphabet tracing mistakes (and fixes)
- Starting at the bottom. Put a green dot at the top and trace with your finger first. Redirect every time, gently: "Where's the green?"
- Coloring in instead of tracing. The pencil wanders all over the letter. Use thinner tracing lines and slow down: "Ride the line like a train track."
- Tracing in silence. Without saying the letter and the path, tracing becomes drawing. Talk it through.
- Whole pages of the same letter. Five good traces beat twenty sloppy ones. Fewer, slower, better.
- Never writing alone. Always finish with one letter from memory.
- Correcting everything at once. Pick one thing per session, such as starting point, and praise the rest.
- Pushing before the hand is ready. Tears at the table usually mean the task is too hard. Go back to lines, shapes and play-dough for a while.
Letter reversals are common in young children and usually fade with time. If they stay frequent after first grade, or writing seems unusually hard compared with other skills, talk to your child's teacher or pediatrician; an occupational therapist can help when needed.
Your alphabet tracing plan for the next few weeks
Here's a simple way to cover the alphabet without burning out:
- Weeks 1 to 2: pre-writing lines and shapes, plus the capitals in your child's name.
- Weeks 3 to 6: straight-line and slanted capitals, two letters a day, four days a week.
- Weeks 7 to 8: curvy capitals.
- Then: lowercase by family, starting with c, a, d, g and o.
Keep each session to about ten minutes, end with a book, and keep the finished pages in a folder so your child can see how far they've come.
Want to try it first? Try our free printable book. When you're ready for a full A to Z set with correct formation built in:
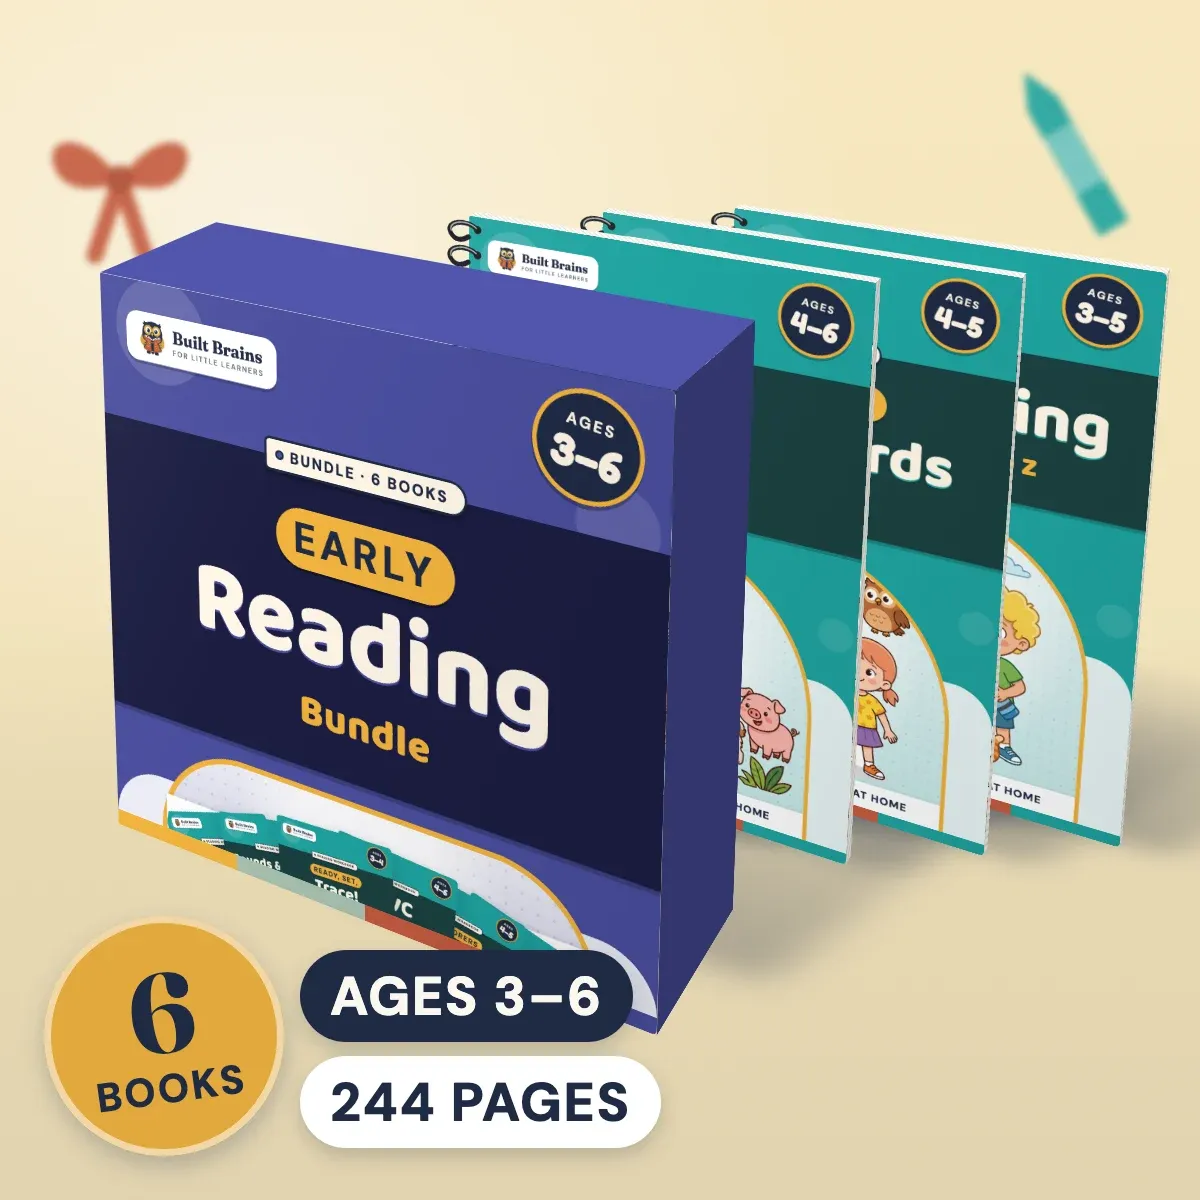
ABC Tracing Adventure gives every letter a coloring and tracing page with a green start dot and step-by-step strokes, then a letter hunt and beginning-sounds hunt, so the letter's shape and sound grow together. Pair it with Ready, Set, Trace! for children who need lines first, or get both inside the Early Reading Bundle. More for this age is on the preschool page.
Questions parents ask
Many children are ready around age 3 to 4, once they can copy a straight line, a circle and a cross. Before that, focus on scribbling, drawing and pre-writing lines. Children vary a lot, so watch for interest and a steadier grip rather than a birthday. Short, playful sessions work best at any age.
Many teachers start handwriting with capitals because they use simpler straight lines and are easier to form. Lowercase is what children read, so introduce it from around age 4, starting with the letters in your child's name. Name both versions from the start so your child knows they belong together.
Yes, in small doses and done correctly. Tracing teaches the path of each letter and builds pencil control. It helps most when your child says the letter and its sound, starts at the dot and follows the arrows. After a few traces, ask your child to write the letter alone so it becomes their own.
Model the letter slowly while saying the path out loud, like "start at the top, pull down, go back to the top, slide across." Have your child trace it in the air, with a finger in sand and then with a pencil. Mark a green start dot on every letter and gently redirect top-down every time.
Reversals are very common in young children and usually not a sign of a problem by themselves. Children are still learning that direction changes a letter's meaning. Teaching a consistent start point and path helps most. If reversals stay frequent past first grade, mention it to your child's teacher or pediatrician.