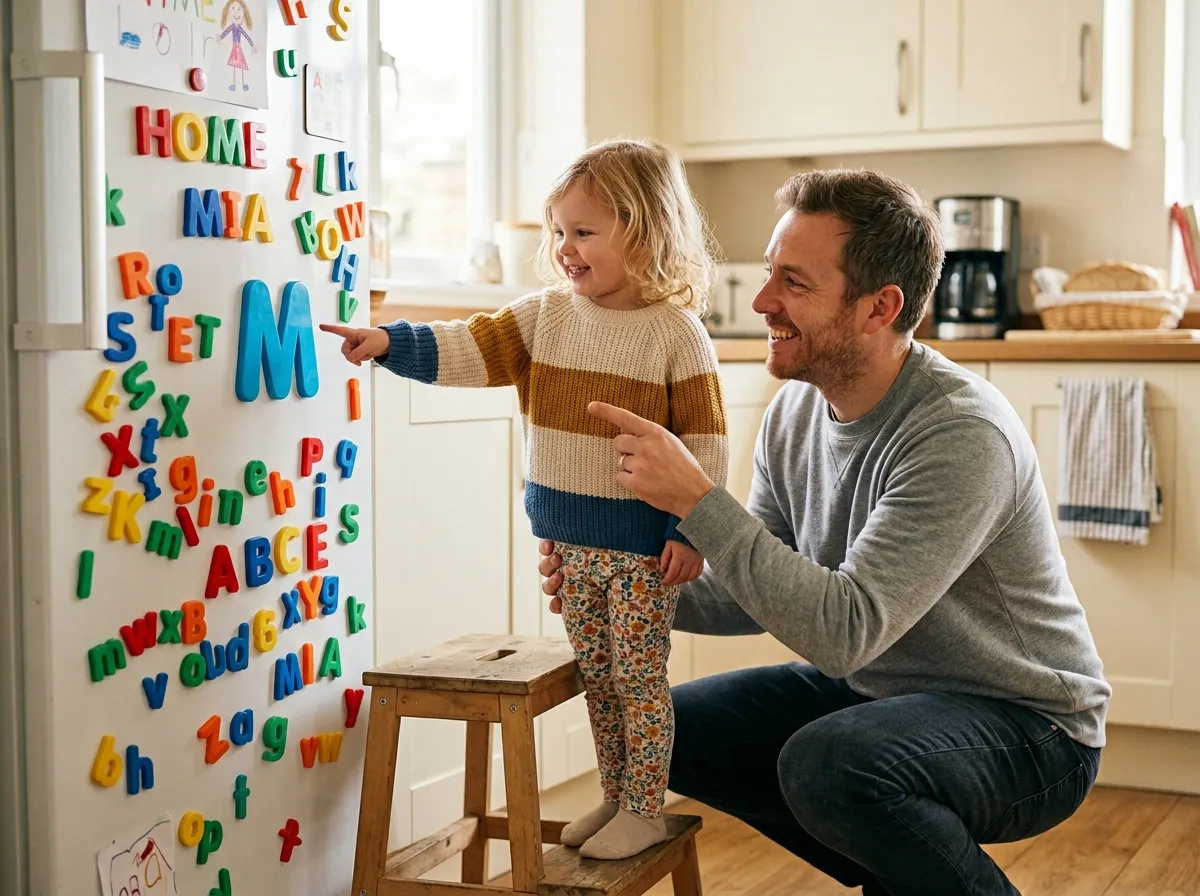
Is your child ready to write their name?
Name writing is usually a child’s first real writing, and it matters to them: it’s their word. But pushing a pencil before small hands are ready tends to create frustration and awkward habits. Look for these signs first:
- They draw on purpose. Scribbles start to become circles, lines and “people” with heads and legs.
- They can copy a vertical line, a horizontal line and a circle after watching you draw one.
- They hold a crayon with their fingers, not wrapped in a fist, at least some of the time.
- They recognize their name on a cubby tag, a birthday card or the fridge.
- They show interest. “What does that say?” or pretend writing on shopping lists is a great sign.
Many three year olds show a few of these signs and many four year olds show all of them. If your child isn’t there yet, that’s fine. Spend a few weeks on play that builds hand strength (see our fine motor activities for preschoolers) and on recognizing the letters in their name, then try again.
Start with pre-writing strokes, not letters
Every letter is built from a small set of strokes. If your child can make these, letters come much more easily. Practice them in roughly this order, since each one tends to be a little harder than the last:
- Vertical line (top to bottom), as in l, i and the first stroke of most capitals.
- Horizontal line (left to right), as in the bar of A, E and T.
- Circle (starting at the top, going counterclockwise), the base of a, o, d and g.
- Cross (+), which pairs a down line with an across line.
- Diagonal lines (\ and /), used in A, K, M, V, W, X, Y and Z.
- Square and X, then triangle, which many children only manage closer to age 5.
Keep this playful. Draw a road for a toy car (horizontal line), rain falling from a cloud (vertical lines), a bouncing ball path (bumps), or a snake (waves). The Ready, Set, Trace! Pre-Writing Book walks through straight lines, waves, zigzags, bumps and loops, then mazes and shape tracing, which is exactly the groundwork name writing sits on.
Capital first letter, then lowercase
Teach your child’s name the way it will be written at school and for the rest of their life: a capital first letter, then lowercase letters. So “Emma,” not “EMMA.”
Capitals are mostly straight lines, so it’s tempting to teach the whole name in capitals. But children who learn “EMMA” first often have to relearn it later, and undoing a habit is harder than building the right one.
- Long names? Teach the first three or four letters, celebrate, then add the rest.
- Tricky letters? Lowercase k, y, g and j are genuinely hard. Practice the tricky one alone for a few days first.
- Nicknames? Choose the version your child will use at school and stick with it.
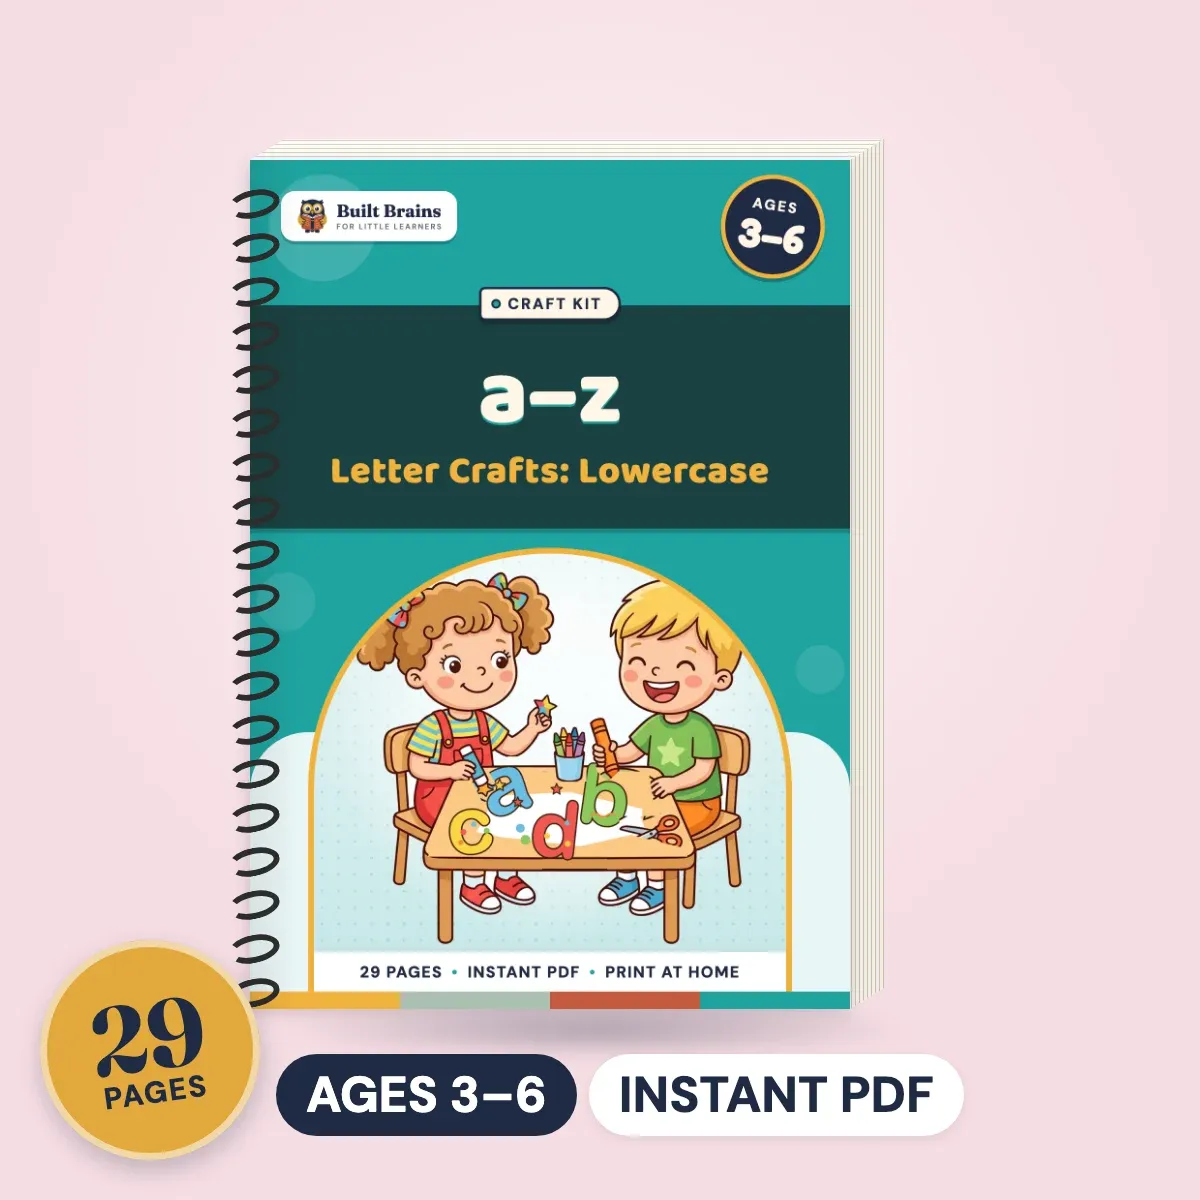
If your child is still learning which letter is which, pair name practice with letter recognition. The A–Z Letter Crafts: Uppercase and a–z Letter Crafts: Lowercase books give each letter a giant outline to color plus pictures to cut and glue, so your child meets both versions of every letter in their name.
The four stages: tracing to writing from memory
Move through these stages slowly. Stay on one until your child can do it easily and without fuss, then add the next. Going back a step on a tired day is completely fine.
1. Tracing a solid name
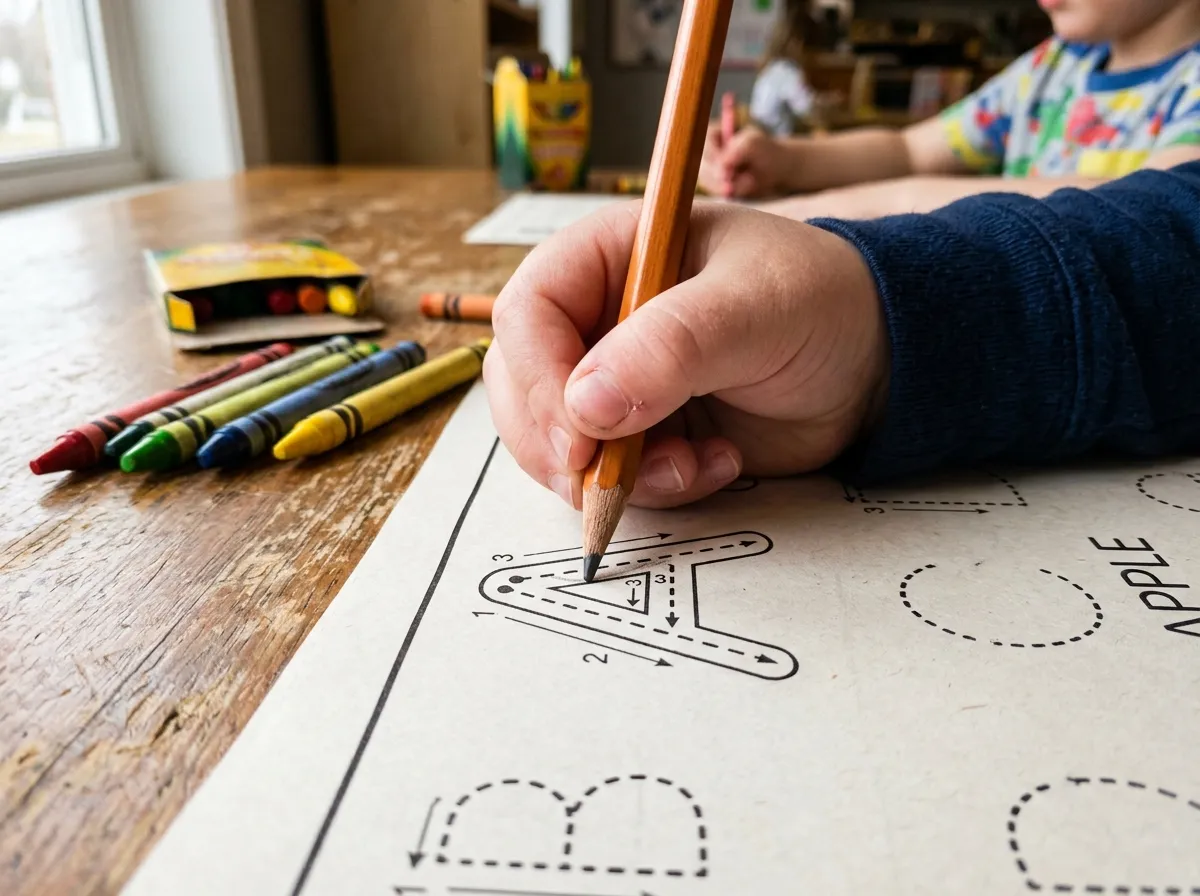
Write your child’s name in big letters with a highlighter. Your child traces over it with a crayon. Describe the path out loud: “E. Big line down. Across the top, across the middle, across the bottom.”
2. Tracing a dotted name
Now write the name in dots or light dashes. This asks your child to connect the path rather than follow a solid line. Put a small green dot where each letter starts so they learn the correct starting point from day one. The ABC Tracing Adventure uses this same green-dot start with step-by-step tracing for every letter.
3. Copying from a model
Write the name once at the top of the page, and give your child a blank line underneath to copy it. This is the big leap, because your child has to look, hold the letter in mind, then write it. Expect wobbly letters, uneven sizes and letters floating above the line. All normal.
4. Writing from memory
Finally, ask your child to write their name with no model. Start by signing artwork: “Can you put your name on your picture so everyone knows you made it?” Real reasons to write are far more motivating than worksheets.


Ages 3–5 · 60 pages
ABC Tracing Adventure: A to ZLearn every letter the right way — trace, find, color
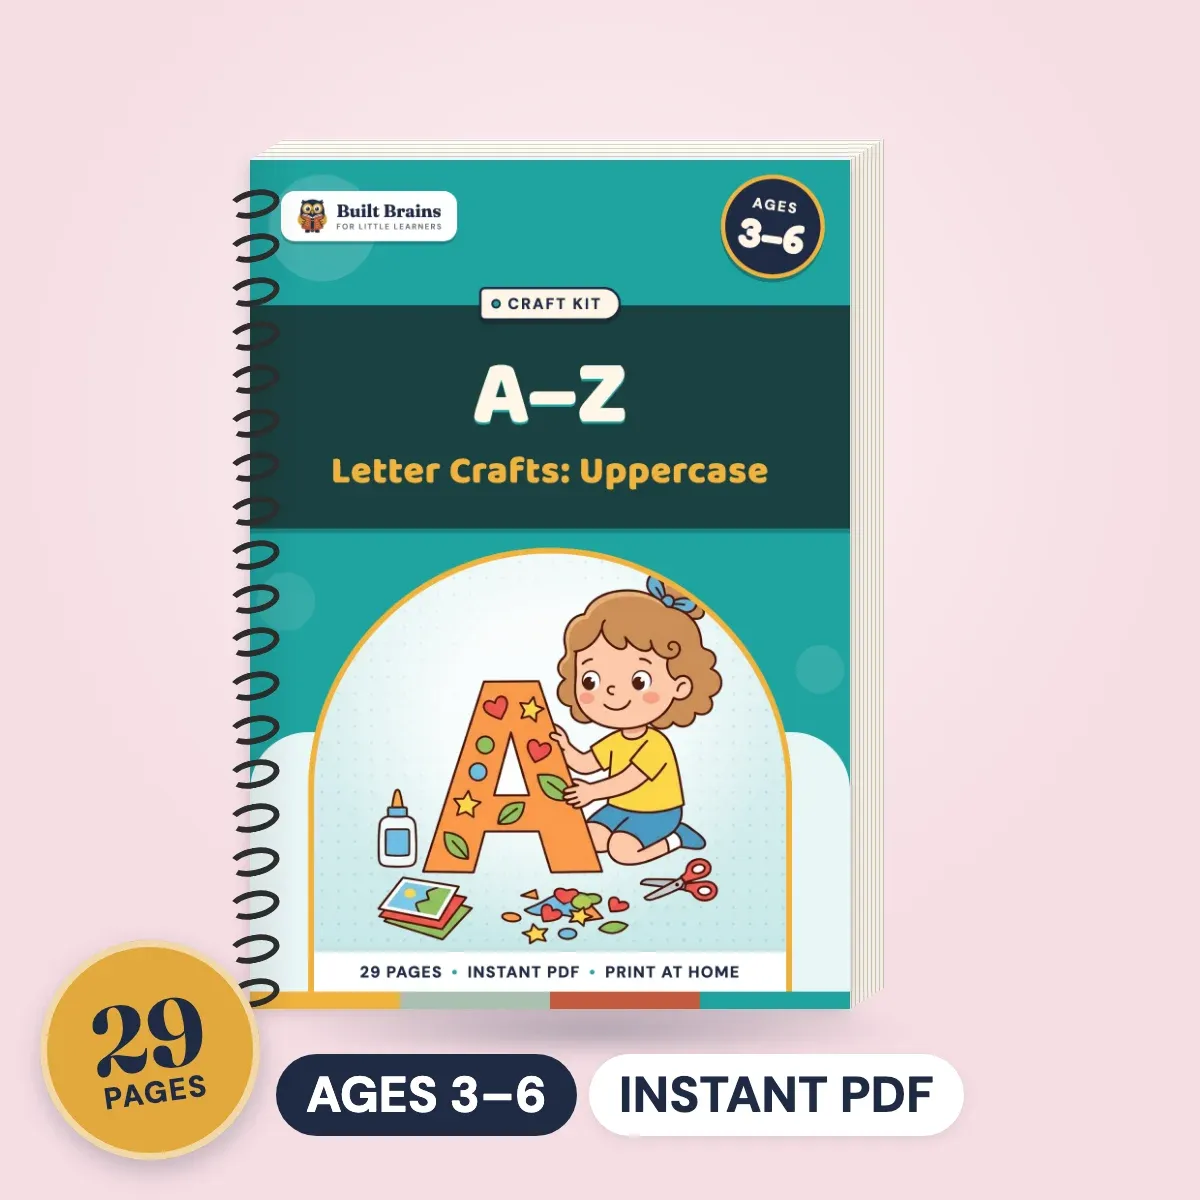
Ages 3–6 · 29 pages
A–Z Letter Crafts: UppercaseColor, cut and paste a craft for every capital letter
Multisensory ways to practice (no pencil needed)
Children remember letter shapes better when they feel them, not just see them. Mix in one of these a few times a week:
- Salt or sand tray. Pour a thin layer into a baking tray. Your child writes with one finger, then shakes to erase.
- Shaving foam or whipped cream. Spread it on the table and write letters with a finger. Messy, memorable and easy to wipe up.
- Play-dough snakes. Roll snakes and bend them into the letters of their name. Great for hand strength too.
- Rainbow writing. Write the name once, then trace over it in three or four colors.
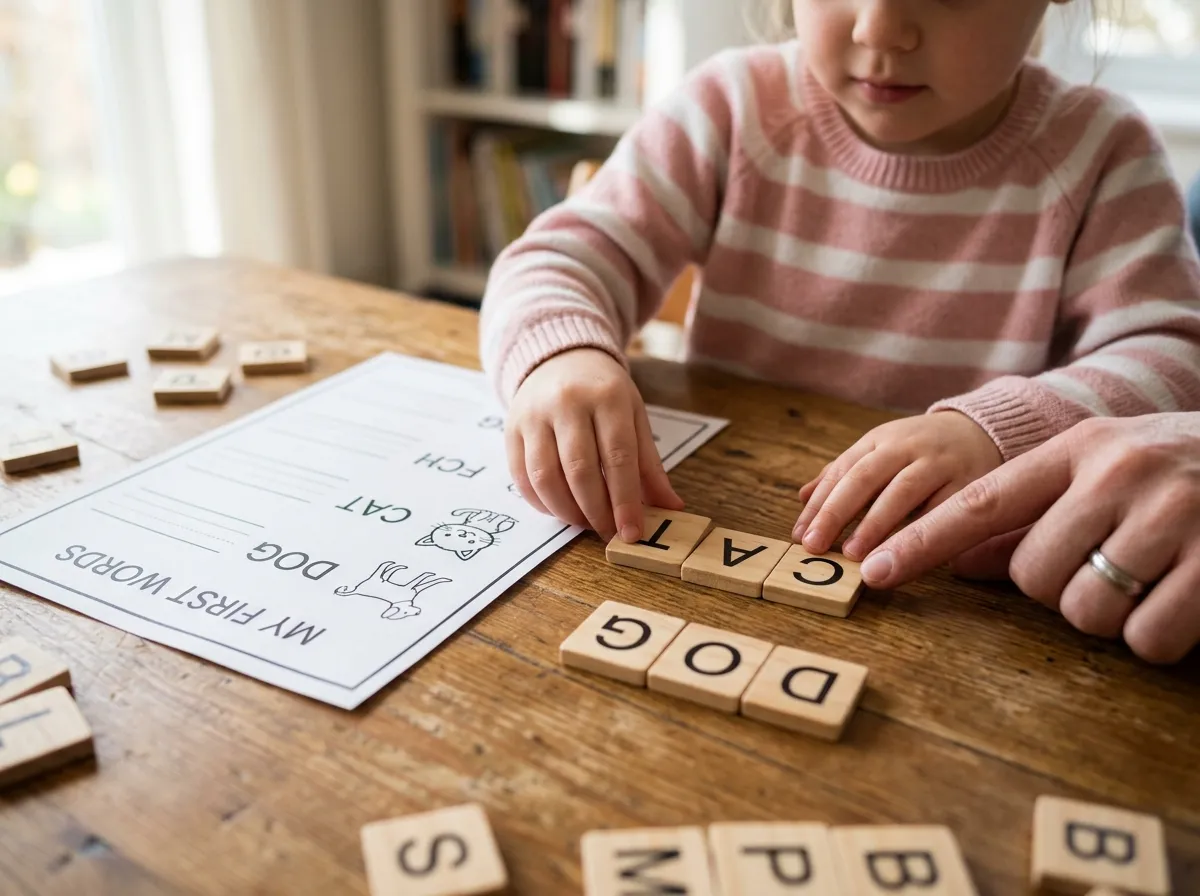
- Name puzzle. Write the name on a strip of card, cut between the letters, and let your child rebuild it.
Scripts that help during practice: “Where does this letter start?”, “Show me with your finger in the air first,” and “Which letter comes next in your name?” Praise effort and specifics: “You started your E right at the top. That’s just how writers do it.”
Getting the pencil grip right
Grip develops gradually. Most children move from a fist grip (around ages 1 to 2), to a grip with fingers pointing down the crayon (around 2 to 3), to a mature tripod grip, where the pencil rests between thumb, index finger and middle finger (often somewhere between 4 and 6). Children vary a lot here.
To help without nagging:
- Use short tools. Broken crayons, golf pencils and small chalk pieces make a fist grip awkward and nudge fingers into position naturally.
- Try the pinch-and-flip. Lay the pencil on the table with the point facing your child. They pinch it just above the sharpened part, then flip it back over their hand. It usually lands in a good grip.
- Hide a tissue. Have your child hold a small scrap of tissue in their ring and pinkie fingers while they write. This keeps those fingers tucked away.
- Build strength elsewhere. Tongs, clothespins, tearing paper, peeling stickers and play-dough do more for grip than drills.
If your child seems to struggle a lot with grip, hand strength or tiredness when drawing, mention it to your pediatrician or preschool teacher. An occupational therapist can offer ideas tailored to your child.
Common reversals and mistakes (and what to do)
Writing letters backward is very common in young children and usually isn’t a sign of a learning problem on its own. They are still learning that a letter’s direction changes its meaning. Reversals often fade by around age 7.
Common ones in names include:
- Mirror-writing the whole name from right to left, especially for left-handed children.
- Flipped letters, like backward S, J, N, Z, b and d.
- Starting at the bottom of letters instead of the top.
- Mixing capitals and lowercase within the name, like “EmMa.”
Don’t correct every letter. Pick one thing, and model it gently: “Let’s look at the name card. Which way does the S curl? Let’s trace it together.” A name card taped to the table with a green start dot on each letter is the most useful tool you can make. If reversals are persistent and frequent past first grade, it’s worth talking to your child’s teacher.
What to expect at age 3, 4 and 5
These are rough guides, not deadlines. Every child develops at their own pace.
Age 3
Most three year olds are building foundations: purposeful scribbles, copied lines and circles, and recognizing the first letter of their name. Some write one or two letters. Focus on play and pre-writing strokes.
Age 4
Many four year olds start tracing and then copying their name, often with large, uneven letters and a reversal or two. This is a great age for the four-stage method.
Age 5
By the start of kindergarten, many children write their first name from memory, though neatness and letter size are still developing. If your child can’t yet, keep practicing calmly; teachers expect a wide range.
If you’d like a routine where pre-writing, letters and fine motor practice are already planned for each day, the Complete Preschool Curriculum at Home builds all of this in, about 20 minutes a day.
Questions parents ask
Many children write their first name somewhere between ages 4 and 5, and plenty take a little longer. Three year olds often manage the first letter or two. What matters most is steady progress: recognizing their name, then tracing, then copying it. Children develop fine motor skills at very different speeds, so a later start is usually nothing to worry about.
It’s usually better to teach a capital first letter followed by lowercase letters, such as “Emma” rather than “EMMA.” That’s how your child will write it at school, and learning it correctly from the start avoids having to unlearn a habit later. If a lowercase letter is tricky, practice it separately first.
Yes. Letter reversals, like backward S, J or b and d, are very common in preschool and kindergarten, and many children keep making some until around age 7. On their own they usually aren’t a concern. Gently model the right direction with a name card, and talk to a teacher if reversals stay frequent past first grade.
About five minutes is plenty for most preschoolers, a few times a week. Short, happy sessions build more skill than long ones that end in tears. Mix pencil practice with play, like writing in salt, building letters with play-dough or signing their artwork, so it never feels like a chore.
Take a break for a week and focus on hand-strengthening play, like play-dough, stickers and tongs. Then bring writing back with a real purpose: signing a card for Grandma, labeling their drawing or writing their name on a sign for their door. Offer choices of tools, and keep it very short.