Scissor skills by age: the development chart
Cutting with scissors combines several skills at once: hand strength, opening and closing the hand smoothly, both hands doing different jobs, and eyes guiding the blades. That is why it develops slowly and in stages. The ages below come from NHS children's occupational therapy guidance (Gateshead Health) and US guidance from Pathways.org. They are typical ranges, not deadlines, and children vary.
| Age (about) | What most children are working on |
|---|---|
| 2 to 2½ | Shows interest in scissors; tries to open and close them, often with both hands or an awkward grip |
| 2½ to 3 | Single snips: one cut at a time into the edge of paper, not yet moving forward |
| 3 | Cuts across a narrow strip of paper; starts to move forward along a line and steady the paper with the other hand |
| 3 to 4 | Cuts along a straight line of about 6 inches, with small wobbles |
| 4 to 5 | Cuts gentle curves, then circles, staying close to the line |
| 5 to 6 | Cuts out squares, triangles and other simple shapes |
| 6 | Cuts more complex shapes that mix curves and corners |
Signs your child is ready for scissors
Pathways.org lists a few signs to look for before scissors: sitting upright steadily, good hand and arm strength, a pincer grasp (picking things up between thumb and fingertip), using both hands together, following simple instructions and enjoying coloring or crafts. If these are still developing, the pre-scissor activities in Stage 1 below are the right place to start.
How to hold scissors: the thumbs-up grip
The single biggest fix for messy cutting is the grip.
- Thumb in the small loop, on top.
- Middle finger in the big loop, with the index finger in front of it or resting along the bottom handle for control. Ring and little fingers curl into the palm.
- Thumbs up. The thumb points to the ceiling, not the floor. Say "thumbs up!" as a reminder.
- Elbow in. Keep the cutting elbow close to the side. Some therapists suggest holding a small beanbag between elbow and body.
- Helper hand holds and turns the paper. The cutting hand keeps pointing forward; the other hand does the steering.
Choosing scissors and left-handed scissors
Good first scissors
- Small loops that fit a child's hand, with short blades and rounded tips
- Sharp enough to cut paper cleanly. Blunt scissors that only fold the paper cause more frustration than they prevent
- Spring-loaded or loop scissors, which open by themselves, for children with a weak grip or who find opening hard
Left-handed children
Give left-handed children left-handed scissors. NHS therapists explain that right-handed scissors used in the left hand push the blades apart, so the paper bends instead of cutting, and the top blade hides the line (Children and Family Health Devon). Scissors labeled for either hand can still block the view of the line.
If you're not sure which hand your child prefers, that's normal: children often start to favor one hand between 2 and 4, but a settled preference often isn't clear until 5 or 6. Keep both kinds of scissors at home and let your child choose.
Scissor safety for young children
- Supervise every session, especially at 2 and 3.
- Teach clear rules: scissors are for paper and crafts only, never hair, clothes or people. Sit down to cut, and never walk or run with scissors.
- Pass scissors handles first, blades closed and pointing down.
- Show where fingers go on the helper hand: holding the edge of the paper, away from the blades.
- Have one cutting place, like the kitchen table, and keep sharp adult scissors out of reach.
20 scissor skills activities, by stage
Work through the stages in order and stay at one until it feels easy. Five to ten minutes is plenty for 3 and 4 year olds.
Stage 1: Getting ready and first snips (ages 2–3)
- Tong transfers. Move pom-poms or socks between bowls with kitchen tongs. Builds: the open-close squeeze of scissors.
- Clothespin clip. Clip clothespins around the edge of a shoe box or paper plate. Builds: thumb and finger strength.
- Hole punching. Punch holes in scrap paper with a hand-held punch. Builds: squeezing with a thumbs-up hand.
- Spray bottle painting. Squirt water at chalk drawings outside. Builds: hand strength.
- Play dough snakes. Roll snakes and snip them into pieces. Dough holds still, so early snips succeed. Builds: first cuts.
Stage 2: Cutting across and along straight lines (ages 3–4)
- Straw beads. Snip plastic straws into short pieces and thread them. Builds: single snips with purpose.
- Fringe it. Snip along the edge of a paper strip to make a lion's mane or grass. Builds: snipping forward.
- Strip confetti. Cut thin strips of card across into squares. Card is stiffer and easier than paper. Builds: one-cut-across.
- Road cutting. Draw a thick straight "road" and cut along it to drive a toy car home. Builds: straight lines.
- Junk mail cutting. Cut pictures out of old flyers and magazines, roughly. Builds: confidence and steering.
Stage 3: Curves and circles (ages 4–5)
- Wavy lines. Cut along gentle waves drawn with a thick marker. Builds: turning the paper.
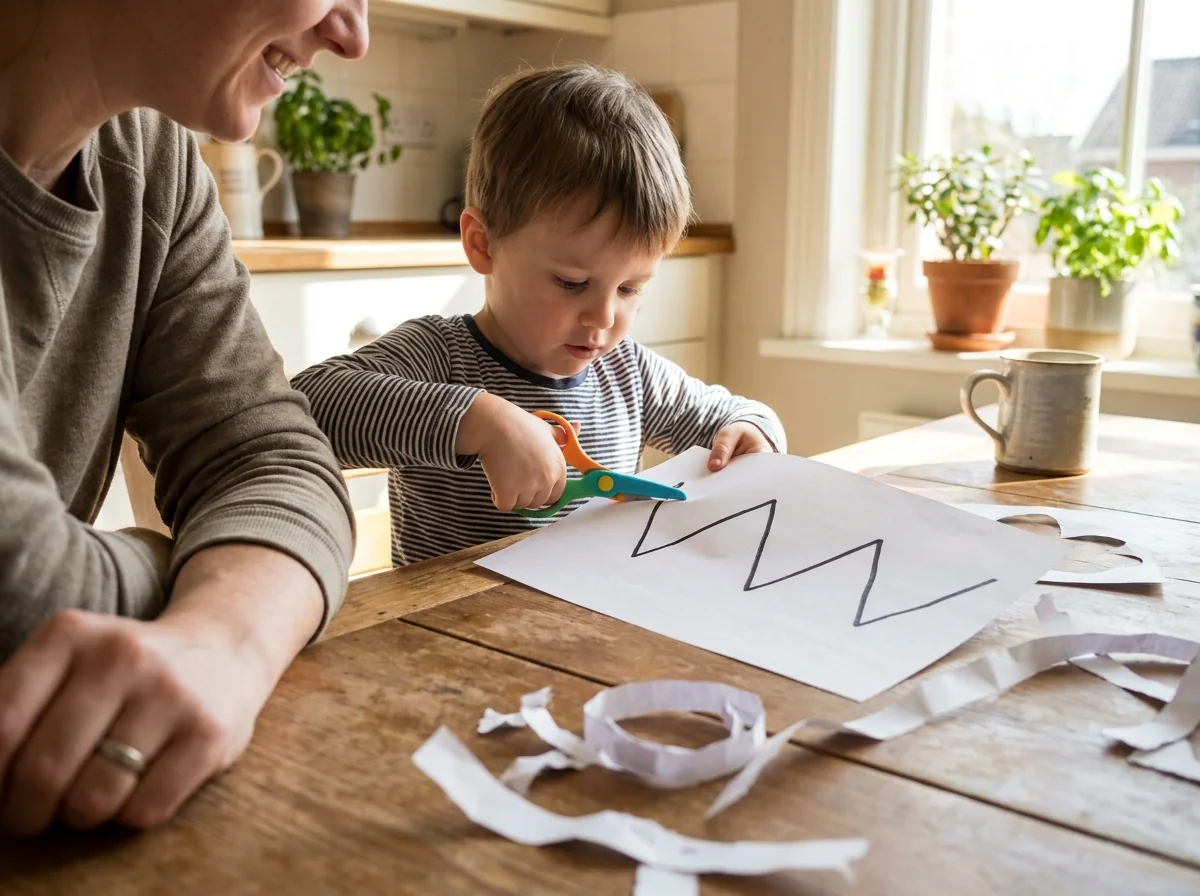
- Zigzag teeth. Cut a zigzag to make dragon teeth or a crown. Builds: changing direction.
- Spirals. Cut a spiral from a paper plate to make a hanging snake. Builds: continuous turning.
- Circle faces. Cut out large circles (start with a square around the circle) and decorate them as faces. Builds: smooth curves.
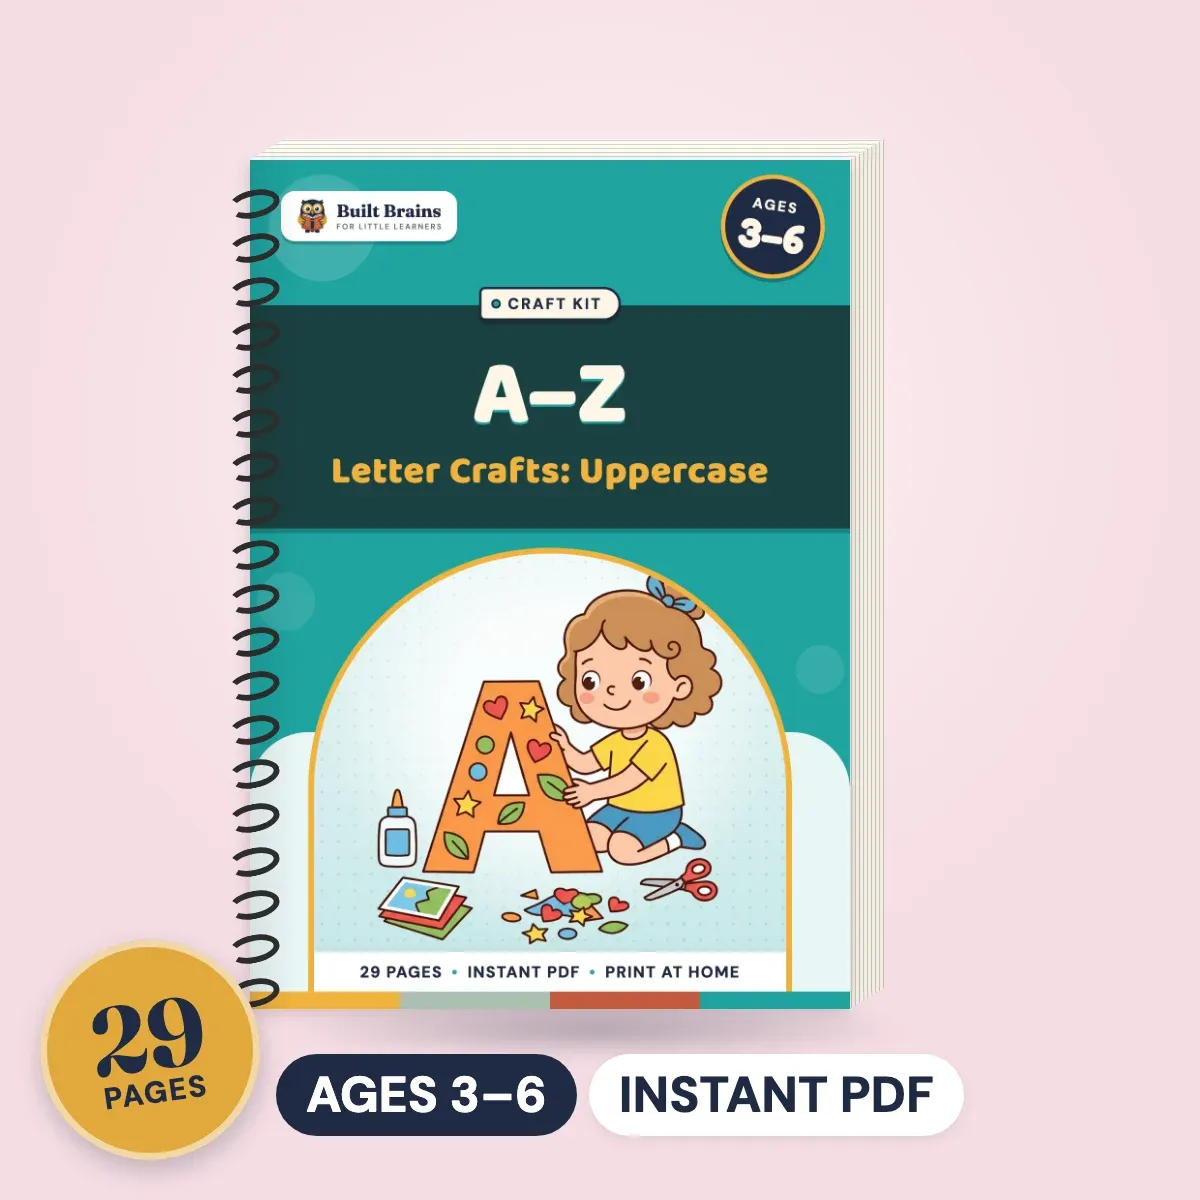
- Letter crafts. Cut out the pictures and glue them onto a big letter. The A–Z Letter Crafts: Uppercase pages do this for every capital letter, so cutting and letter sounds come together.
Stage 4: Shapes and simple crafts (ages 5–6)
- Shape cutting. Cut out squares, triangles and rectangles, then build a picture with them. Builds: stopping and turning at corners.
- Paper chains. Cut strips along ruled lines and loop them into a chain. Builds: accuracy along long lines.
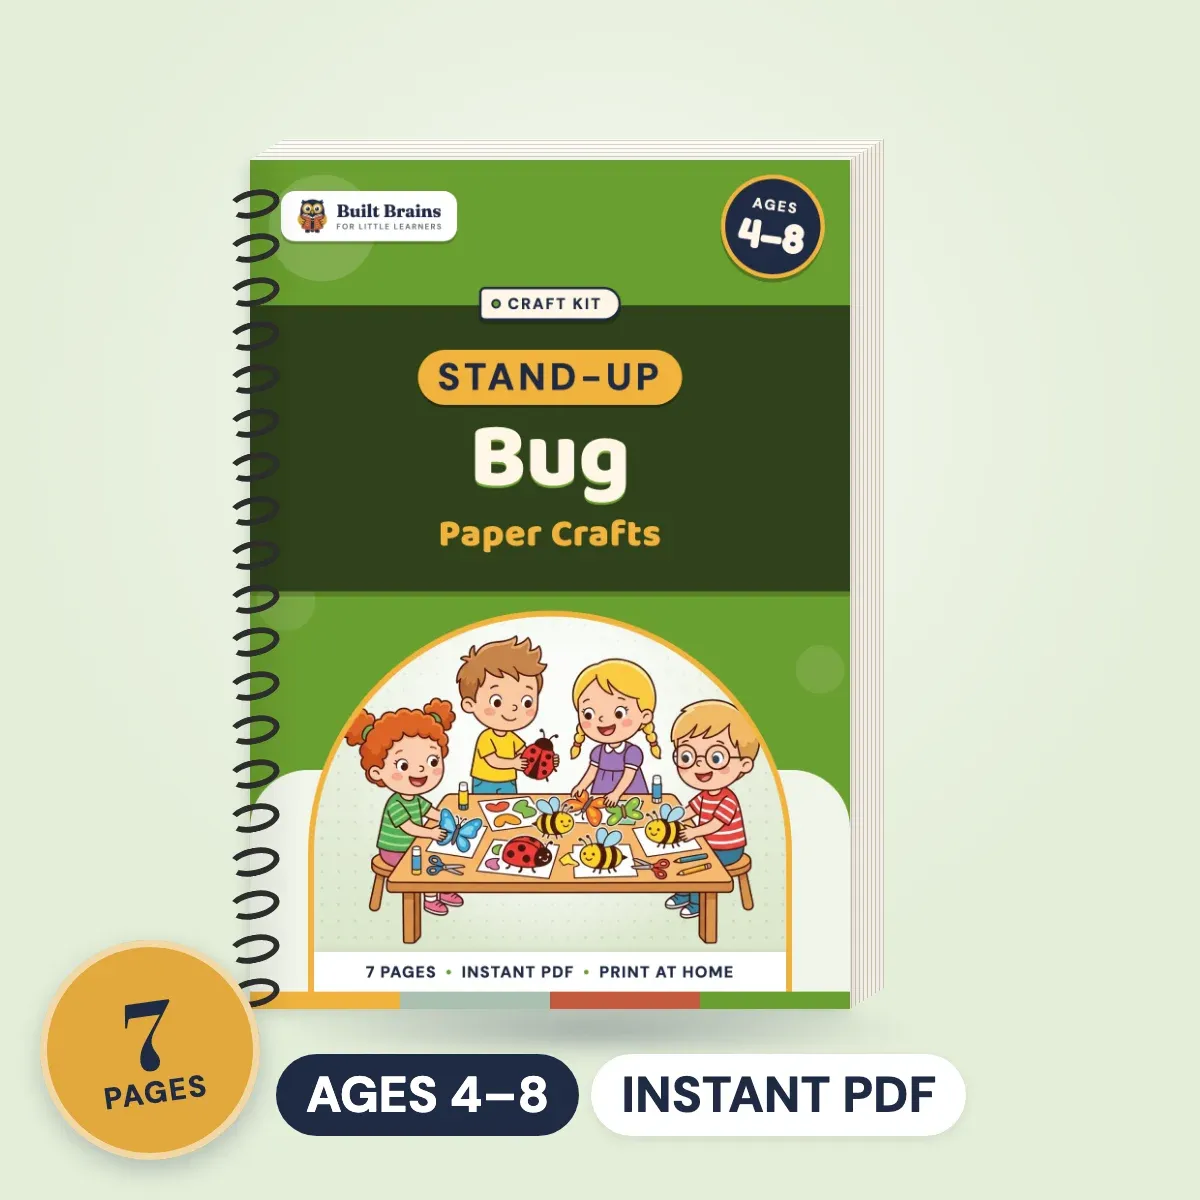
- Stand-up crafts. Color, cut and fold paper figures that stand on their own, like the 12 ladybugs, bees and snails in Stand-Up Bug Paper Crafts. Builds: cutting on the line plus folding.
- Snowflakes. Fold paper and snip shapes from the edges, then open it. Builds: cutting through thicker layers.
- Holiday crafts. Ornaments, headbands and cards, such as those in the Merry Makers Christmas Craft Kit. Builds: following craft steps with cutting.
For more hand-strength ideas, see our fine motor activities for preschoolers.
Practice pages that follow the stages
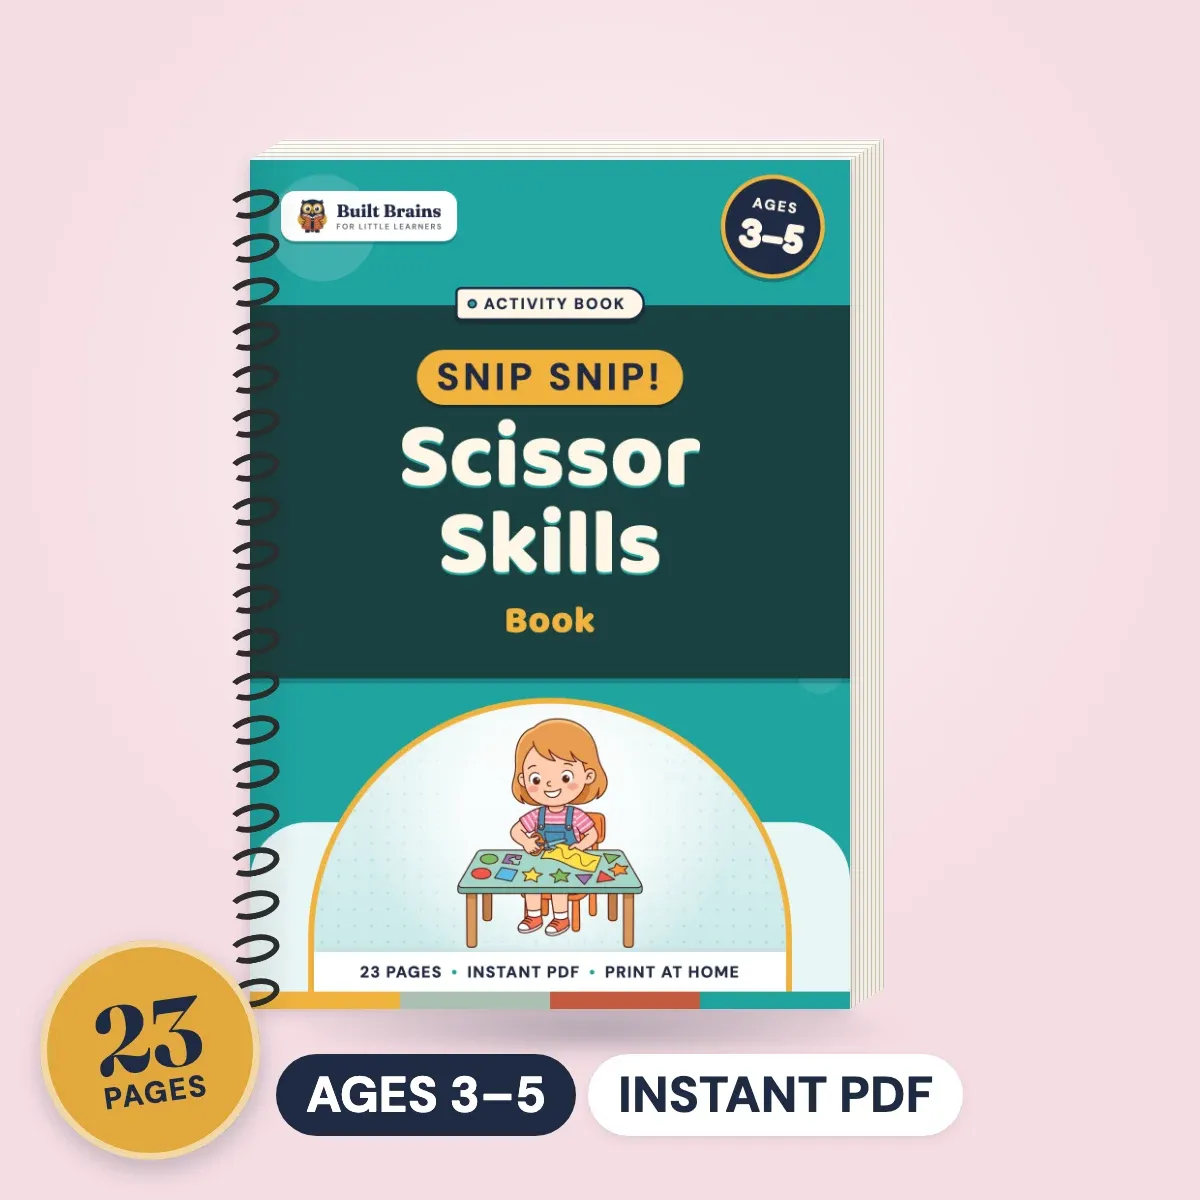
The Snip Snip! Scissor Skills Book is built around the same order: 18 cutting pages in six levels, from straight lines to diagonal, wavy, zigzag, castle and loop lines, each starting at a picture, plus tips for holding scissors and cut-out cards to finish.
When to ask for help
Scissors are hard, and many children find cutting frustrating at first. It is worth a word with your pediatrician or your child's teacher if:
- At 5 or 6, your child still cannot open and close scissors smoothly or cut a straight line
- Their hands tire very quickly, or they avoid all hand activities, like drawing and building
- They seem to have trouble using both hands together in other tasks too
An occupational therapist can look at hand strength and coordination and suggest activities that fit your child. Cutting also links closely with pencil skills, so our guide to how to teach a child to write their name is a good next read.
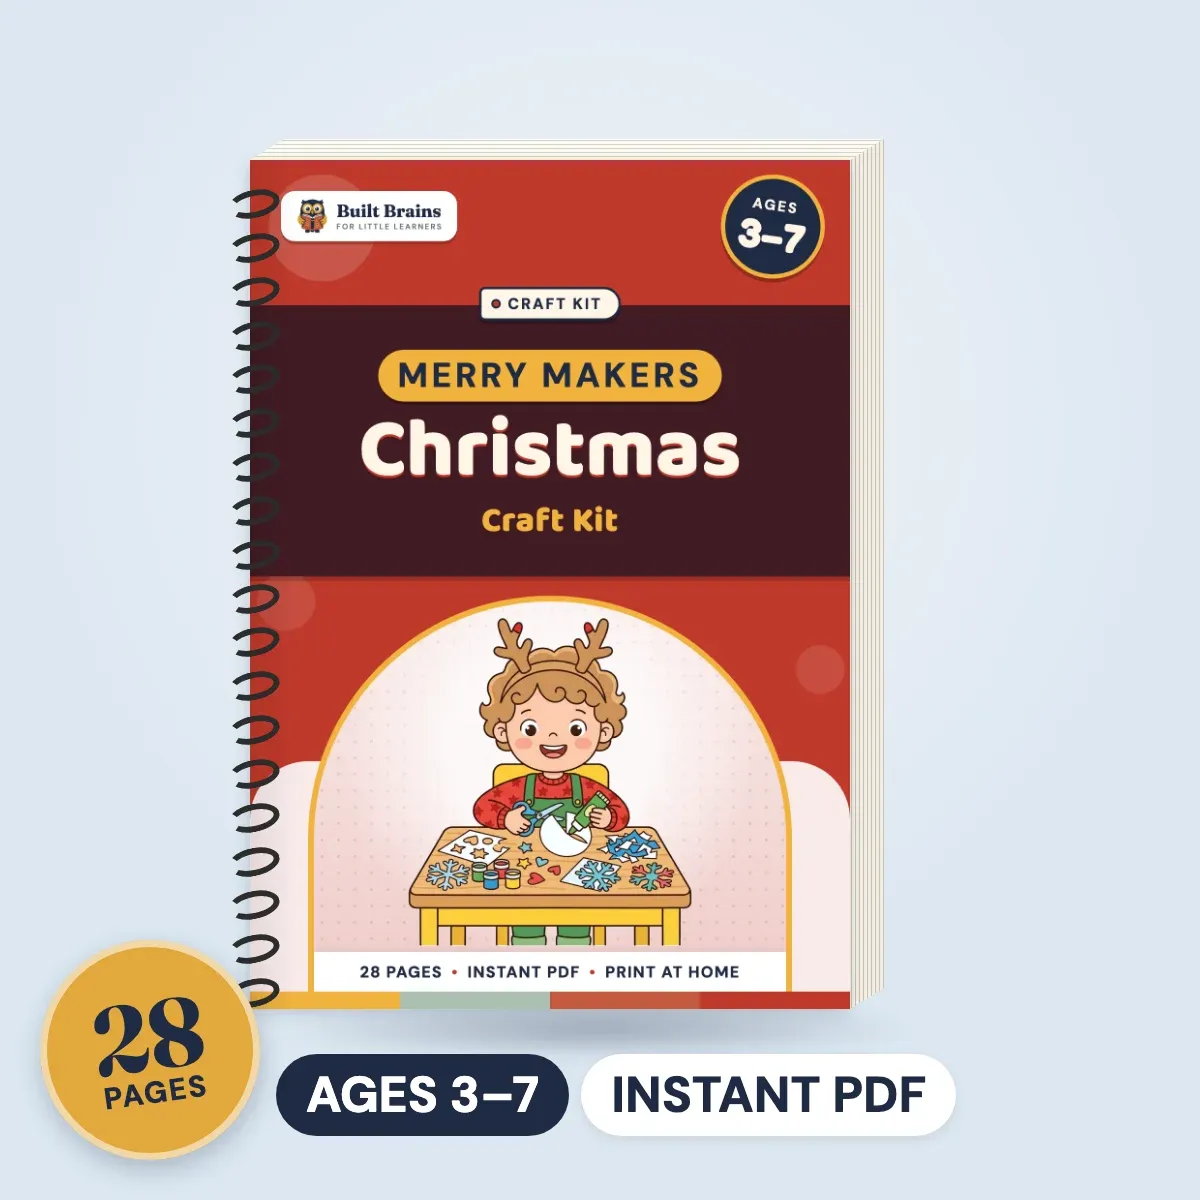
Ages 3–7 · 28 pages
Merry Makers Christmas Craft KitCut, color and create: ornaments, headbands, cards and more
Sources
- Gateshead Health NHS Foundation Trust – Scissor Skills: the typical age sequence for cutting, the thumbs-up grip and practice tips.
- Pathways.org – When Can My Child Use Scissors?: readiness signs, the thumb-on-top grip, safety rules and hand preference.
- Children and Family Health Devon – Scissor skills, pre-scissor activities and types of scissors: pre-scissor activities, spring-loaded and loop scissors, and left-handed scissors.
Questions parents ask
Many children show interest and try opening and closing scissors around 2 to 2½, and make their first single snips by about 3. Most are ready for small child scissors with real practice at 3 to 4. Cutting along curves and out simple shapes comes between 4 and 6, and NHS therapists describe scissor skills as not fully developed until about 6.
Many 4 year olds can snip, cut across a strip of paper and cut along a straight line of about 6 inches, staying fairly close to it. Some are starting on gentle curves and circles. The helper hand holding and turning the paper is still developing at this age, so wobbly edges and corners cut off are normal.
Thumb in the small loop on top, and the middle finger, often with the index finger, in the bigger loop below. The thumb points up to the ceiling, which is why therapists call it the thumbs-up grip. The elbow stays close to the body, and the other hand holds the paper and turns it, rather than turning the scissors.
Yes. NHS occupational therapists advise always giving left-handed children left-handed scissors. In a left hand, right-handed blades are pushed apart rather than together, so the paper folds instead of cutting, and the top blade hides the line. Scissors sold for either hand can also block the view of the cutting line.
Go back a stage. Build hand strength with tongs, clothespins, hole punches and spray bottles, then cut thick card or play dough before thin paper. Spring-loaded scissors that open by themselves help children with a weak grip. If cutting is still very hard at 5 or 6, ask your pediatrician or teacher about an occupational therapy assessment.

Reviewed by
Early Years SENCo (Special Educational Needs Coordinator)
Ben Mitchell is an Early Years SENCo specializing in early identification and inclusive classroom strategies for neurodivergent children.
More about B. Mitchell →