
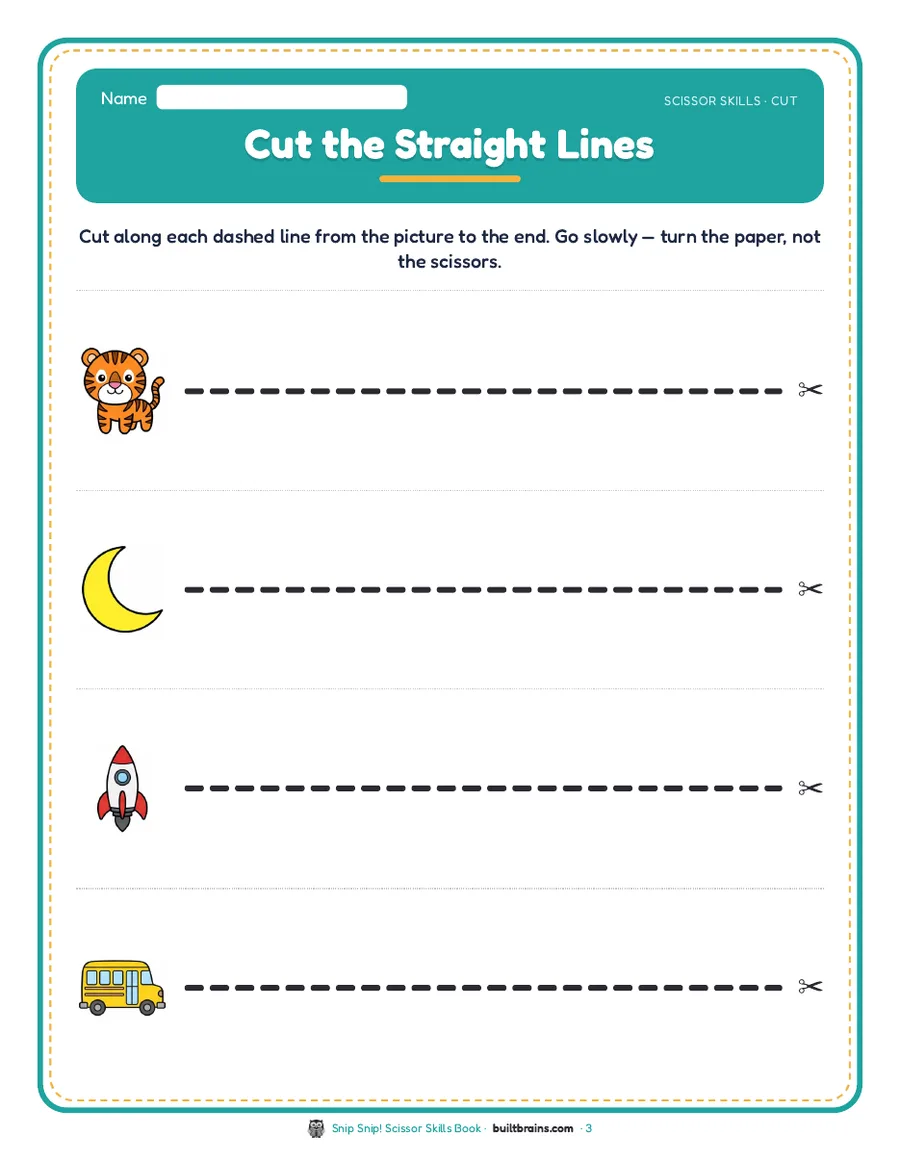
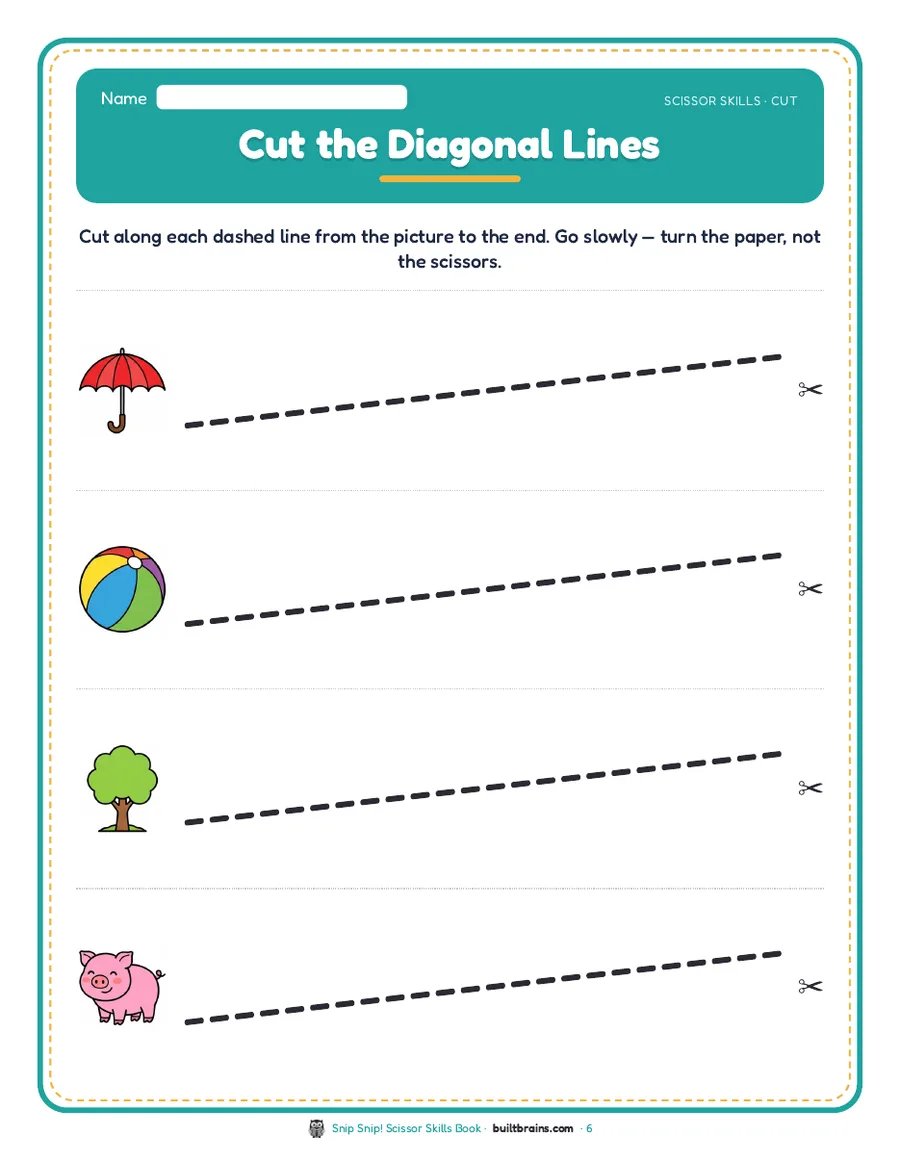
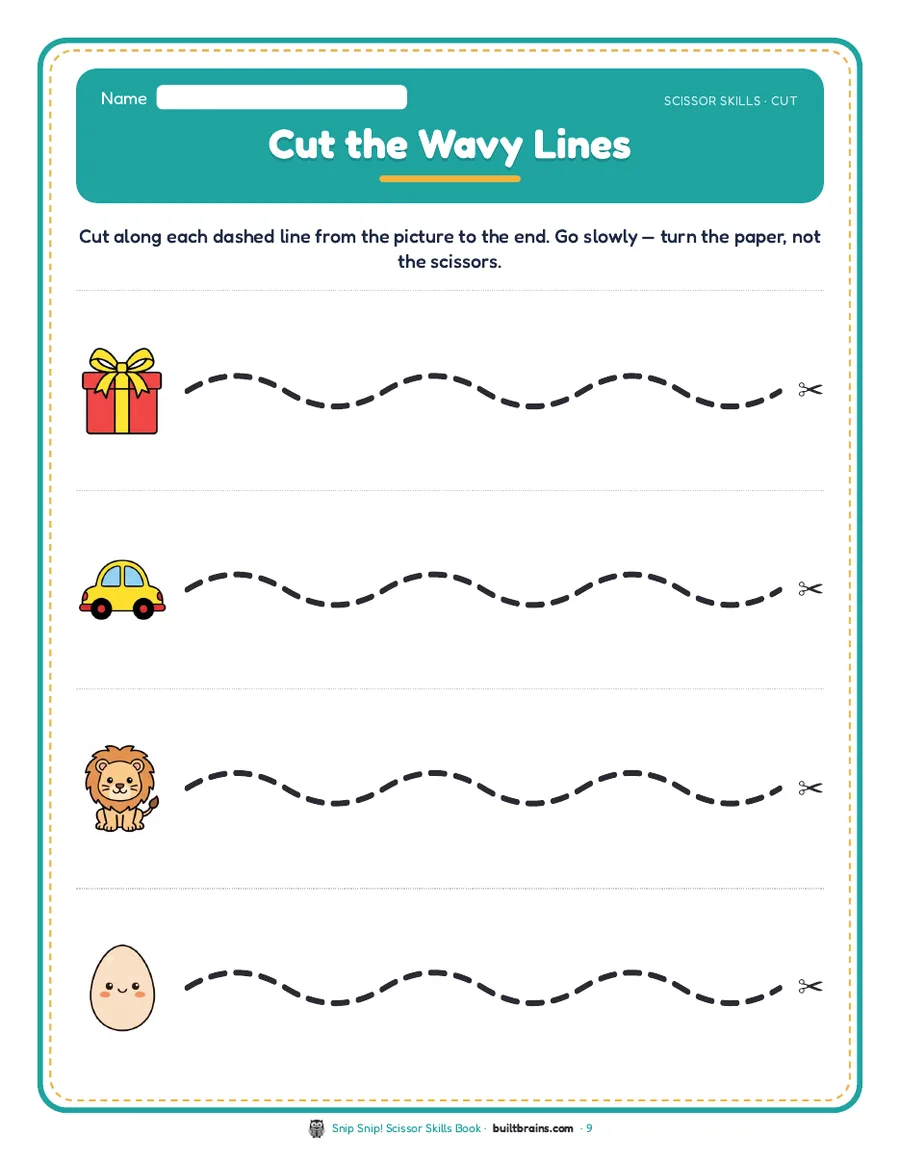
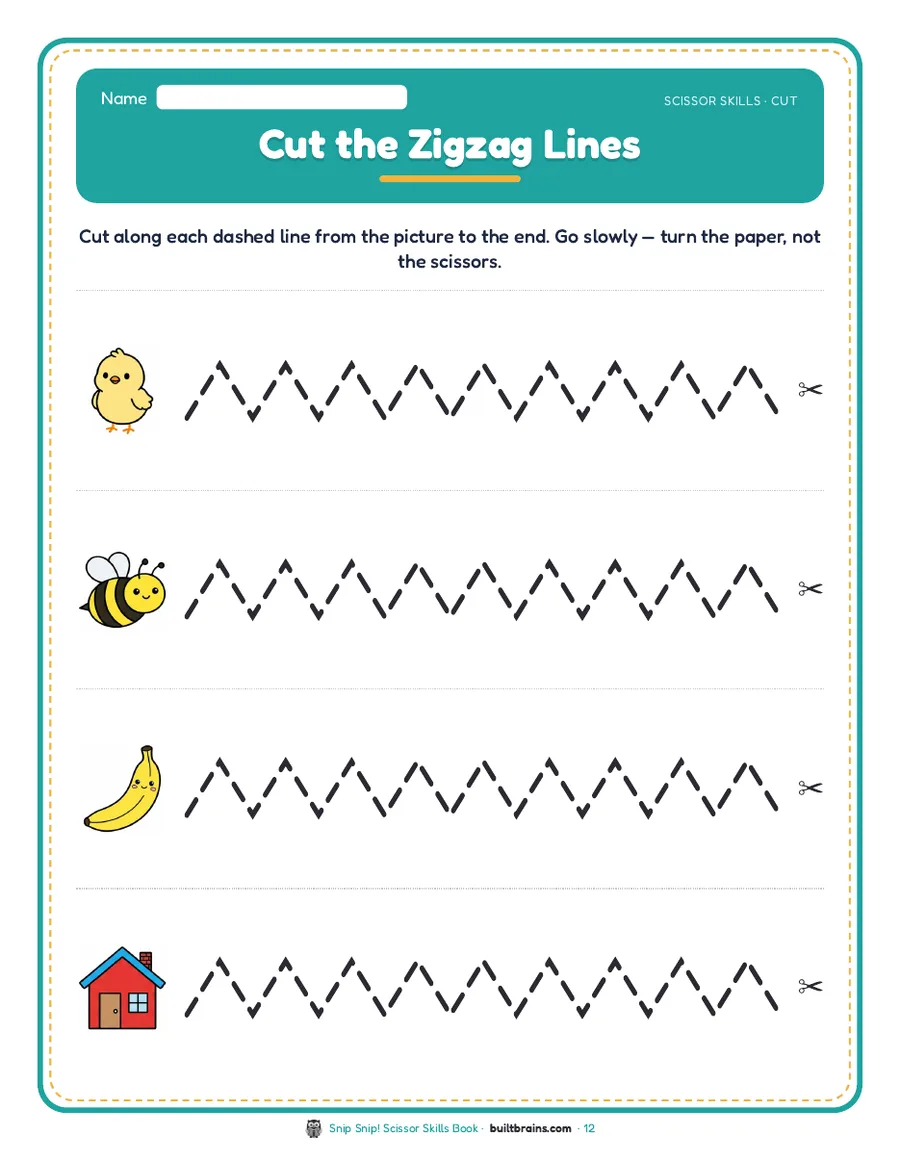
How to use these scissor skills worksheets
Use one page per session, and expect each to take 5 to 10 minutes. Cutting is tiring for small hands, so stop before your child gets frustrated.
- Set up safely. Sit at a table with your child, and keep scissors on the table, not in laps.
- Practice open and shut. Snip the air a few times saying "open, shut, open, shut."
- Start at the picture. Put the scissors at the start of the first line, next to the picture.
- Cut and turn. The cutting hand opens and shuts while the helping hand holds and turns the paper.
- Go level by level. Start with straight lines. Move to the next page only when the current one feels easy.
Printing on slightly heavier paper, such as card stock, makes lines easier to cut because the paper doesn't flop. For a full chart of scissor skills by age, grip help and safety tips, read our guide to scissor skills by age.
Tips by age
Age 3. Focus on the open and shut motion and short straight snips. It's fine if your child cuts near the line rather than on it. Hold the paper for them at first, then let them hold it.
Age 4. Encourage the helping hand to hold the paper with the thumb on top. Try the diagonal and wavy pages. Remind your child to turn the paper, not twist the scissors.
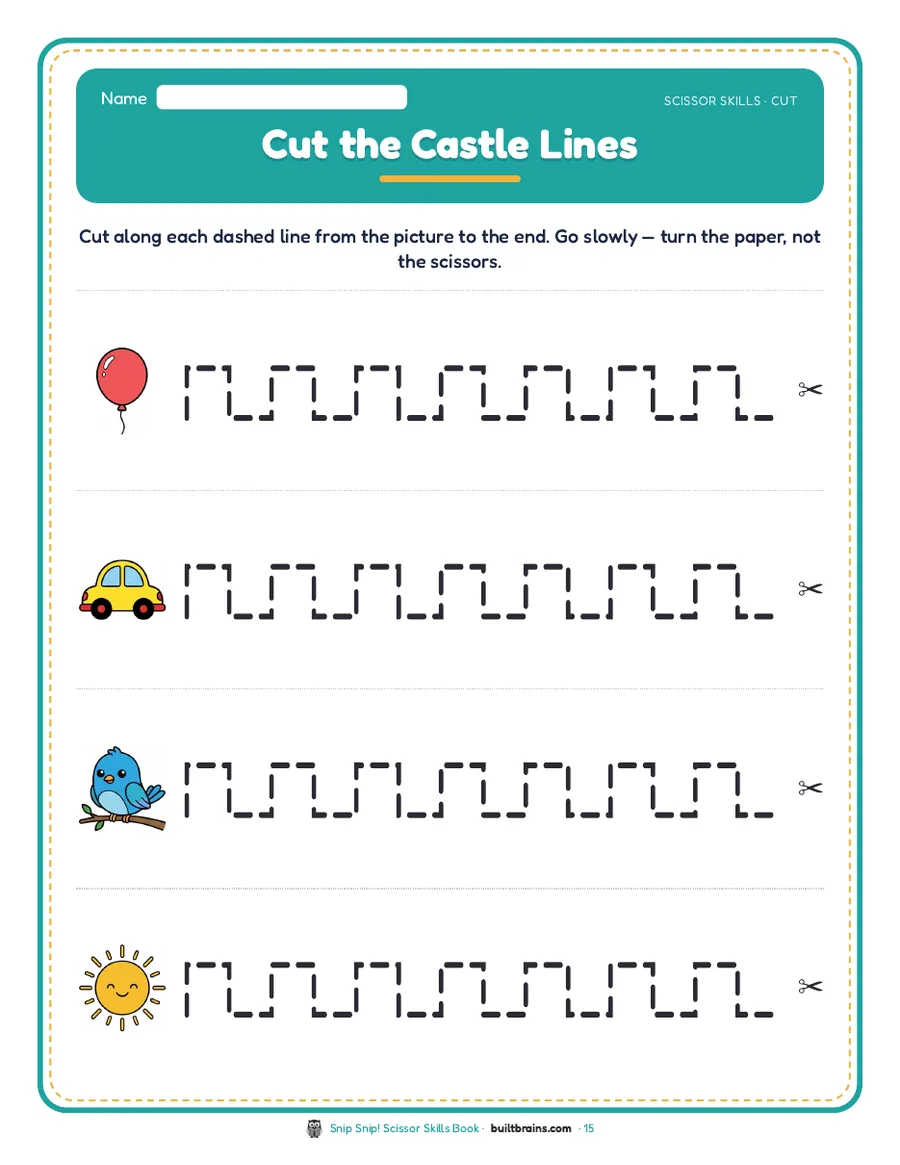
Age 5. Try zigzags and castles. Show how to stop at each corner, turn the paper and keep going. Ask your child to cut the whole line without stopping halfway on the straight sections.
Games to play with the pages
- Cutting confetti. Save the cut strips and snip them into tiny pieces for a collage or a card.
- Strip snakes. Glue the wavy strips onto paper and add eyes to make snakes.
- Castle scene. Glue the castle strips in a row to make a castle wall, then draw flags and a door.
- Play dough snips. Roll play dough into snakes and cut them into pieces. It's a gentle warm-up that builds the same squeeze.
- Junk mail cutting. Draw straight and wavy lines on old envelopes for extra practice.
Our list of fine motor activities for preschoolers has more ways to build hand strength for cutting.
When your child is ready for more
After castles, the next challenge is loops and curves that go all the way around, which leads to cutting out circles and simple shapes. Those take more control because the helping hand has to keep turning the paper smoothly.
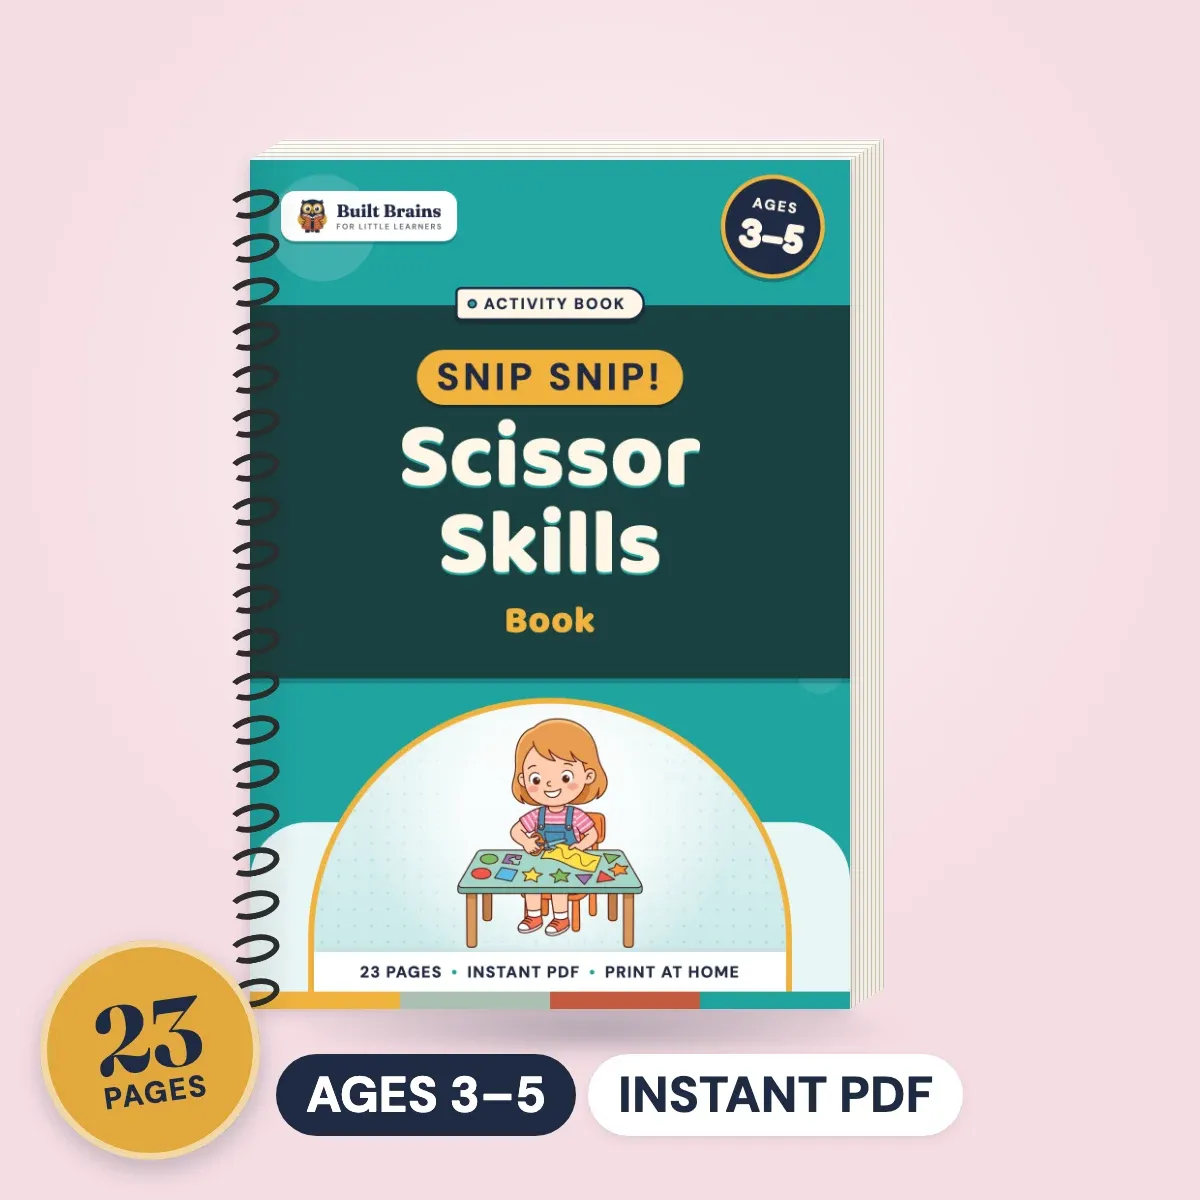
The full Snip Snip! Scissor Skills Book has 18 cutting pages in six levels, from straight lines to loops, with tips for holding scissors and cut-out cards to finish. It ends with a certificate of completion, which children love to receive after their last cut.
Questions parents ask
Many children start snipping with child-safe scissors around age 2 to 3 with an adult close by. By 3 to 4, most can cut along a short straight line, and by 4 to 5 many can manage curves and zigzags. Every child is different, so start with the straight line page and see how it goes.
Yes. All 5 pages are free to download and print as many times as you like for home or class. You won't be asked for an email. Choose Colourful or Black & White and US Letter or A4, and the PDF downloads straight away.
Use small, blunt-tipped child scissors that actually cut paper well. Scissors that only fold the paper are frustrating. Left-handed children need real left-handed scissors, because the blades are reversed so they can see the line while they cut. Try a few snips on scrap paper first to check.
Thumb in the small hole, pointing up, with fingers in the larger hole, like a thumbs-up. The other hand holds the paper and turns it. A simple reminder is "thumbs up, elbow in." If the thumb rolls down, pause and reset the grip before cutting more.
Snip Snip! Scissor Skills Book has 23 pages: 18 cutting pages in six levels from straight lines to loops, tips for holding scissors, 2 pages of cut-out cards to finish and a certificate of completion. These free pages are one page from each of the first five levels.